While I was using my newly working VAXmate the other day, it suddenly failed. I had left it running for a few minutes and when I came back there was a smell and the machine was not running. I wondered at first if it might be the filter capacitors in the power supply, but if these fail the power supply continues to work.
I took the machine apart and examined the H7270 PSU and other boards for any obviously blown components. However I could not find anything. I have since looked multiple times and still cannot see any obviously blown component.

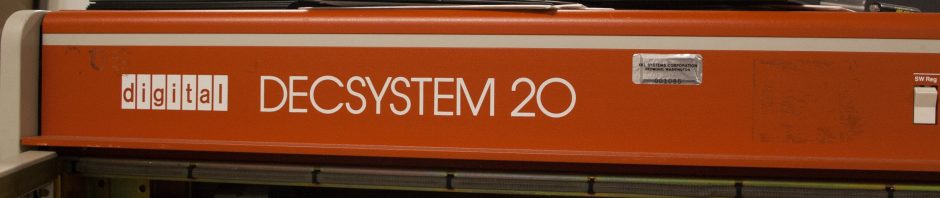
VAXmate H7270 power supply
My first step was to see if the input is being rectified. I found 300V across the two big smoothing capacitors, so, yes, the input is being rectified. The next step was to see if the switching transistor on the primary side was switching, and to see if it is working. I found that it is not switching, but after desoldering it and putting it into my Peak Atlas Component Analyser, it seemed to be working, so the transistor does not seem to be the problem.
My attention then turned to the NE555 timer that drives the switching of the primary side transistor. It is not doing anything and I discovered that it is not getting any voltage to operate.
This means that the current sense circuit on the primary side is detecting an overcurrent condition, which is shutting down the primary side. The causes of this can be multiple, but one is that the crowbar circuit is detecting an overvoltage and forcing a short on the secondary side that triggers the overcurrent condition which then causes the power supply to shutdown.
I have been testing the PSU with no boards attached, and an old IDE disk acting as a load on the 5V and 12V supplies. According to the Technical Description only these supplies are monitored for overvoltage. Any other overcurrent would be a short in one of the other supplies.
So, I have a PSU which won’t start, despite there being no visible damage that can account for the bad smell when it failed, and despite not being connected to any other boards, and only to a known good hard disk drive. The cause seems to be that a problem is being detected that shuts it down. I only have an analogue oscilloscope, and I can’t use it to diagnose a transient condition like this one. I am going to have to get a Digital Storage Oscilloscope that can be used for transient conditions like this. I want a more modern oscilloscope anyway, so I am going to get a Rigol DS1054Z after a friend recommended it to me and after seeing a positive EEVblog review. When I have that I hope to be able to investigate further.
For reference I have reverse engineered the PSU and done a couple of partial schematics. They are probably not drawn logically as I am not an expert.


The component numbers are assigned by me as they are not marked on the board, and I have posted images of the board with the components labelled. A few component numbers are actually named in the Technical Description and I have used those numbers.


Hi Rob,
I remember the smell of burning well with some older disk drives. Usually in those days it was the caps which were seeing a higher surge current with our 50Hz rather than the 60Hz they were intended for. Lots of 2:1 transformers to get the 110 from our 240V as well. You can imagine what the combustion products did to disk surfaces.
Good luck Greg
Actually the hard disk was not installed. I had a modern MFM emulator installed when it failed. I am really mystified as to what component burned up, I simply cannot see any component that looks damaged.
Shot in the dark, but are the temperature resistor R62 or the current sense resistor R13 OK?
They do appear to be OK, but I haven’t gone as far as removing them and testing them out of circuit.
I tested both components again today, both in circuit. I tested R62 with a hair dryer and saw the resistance climb as the temperature rose. R13 measures about 1ohm in one direction and 3.4ohm in the other (there is a diode across it). I can’t quite make out the markings on R13, but it looks like nominally it is 1.0ohm. If that is correct then perhaps it is indeed R13 that is faulty. I will have to desolder it and check it.
Pingback: Possible Cause of VAXmate H7270 PSU Failure | Rob's Old Computers