| Make | Digital Equipment Corporation |
| Model | VAXmate |
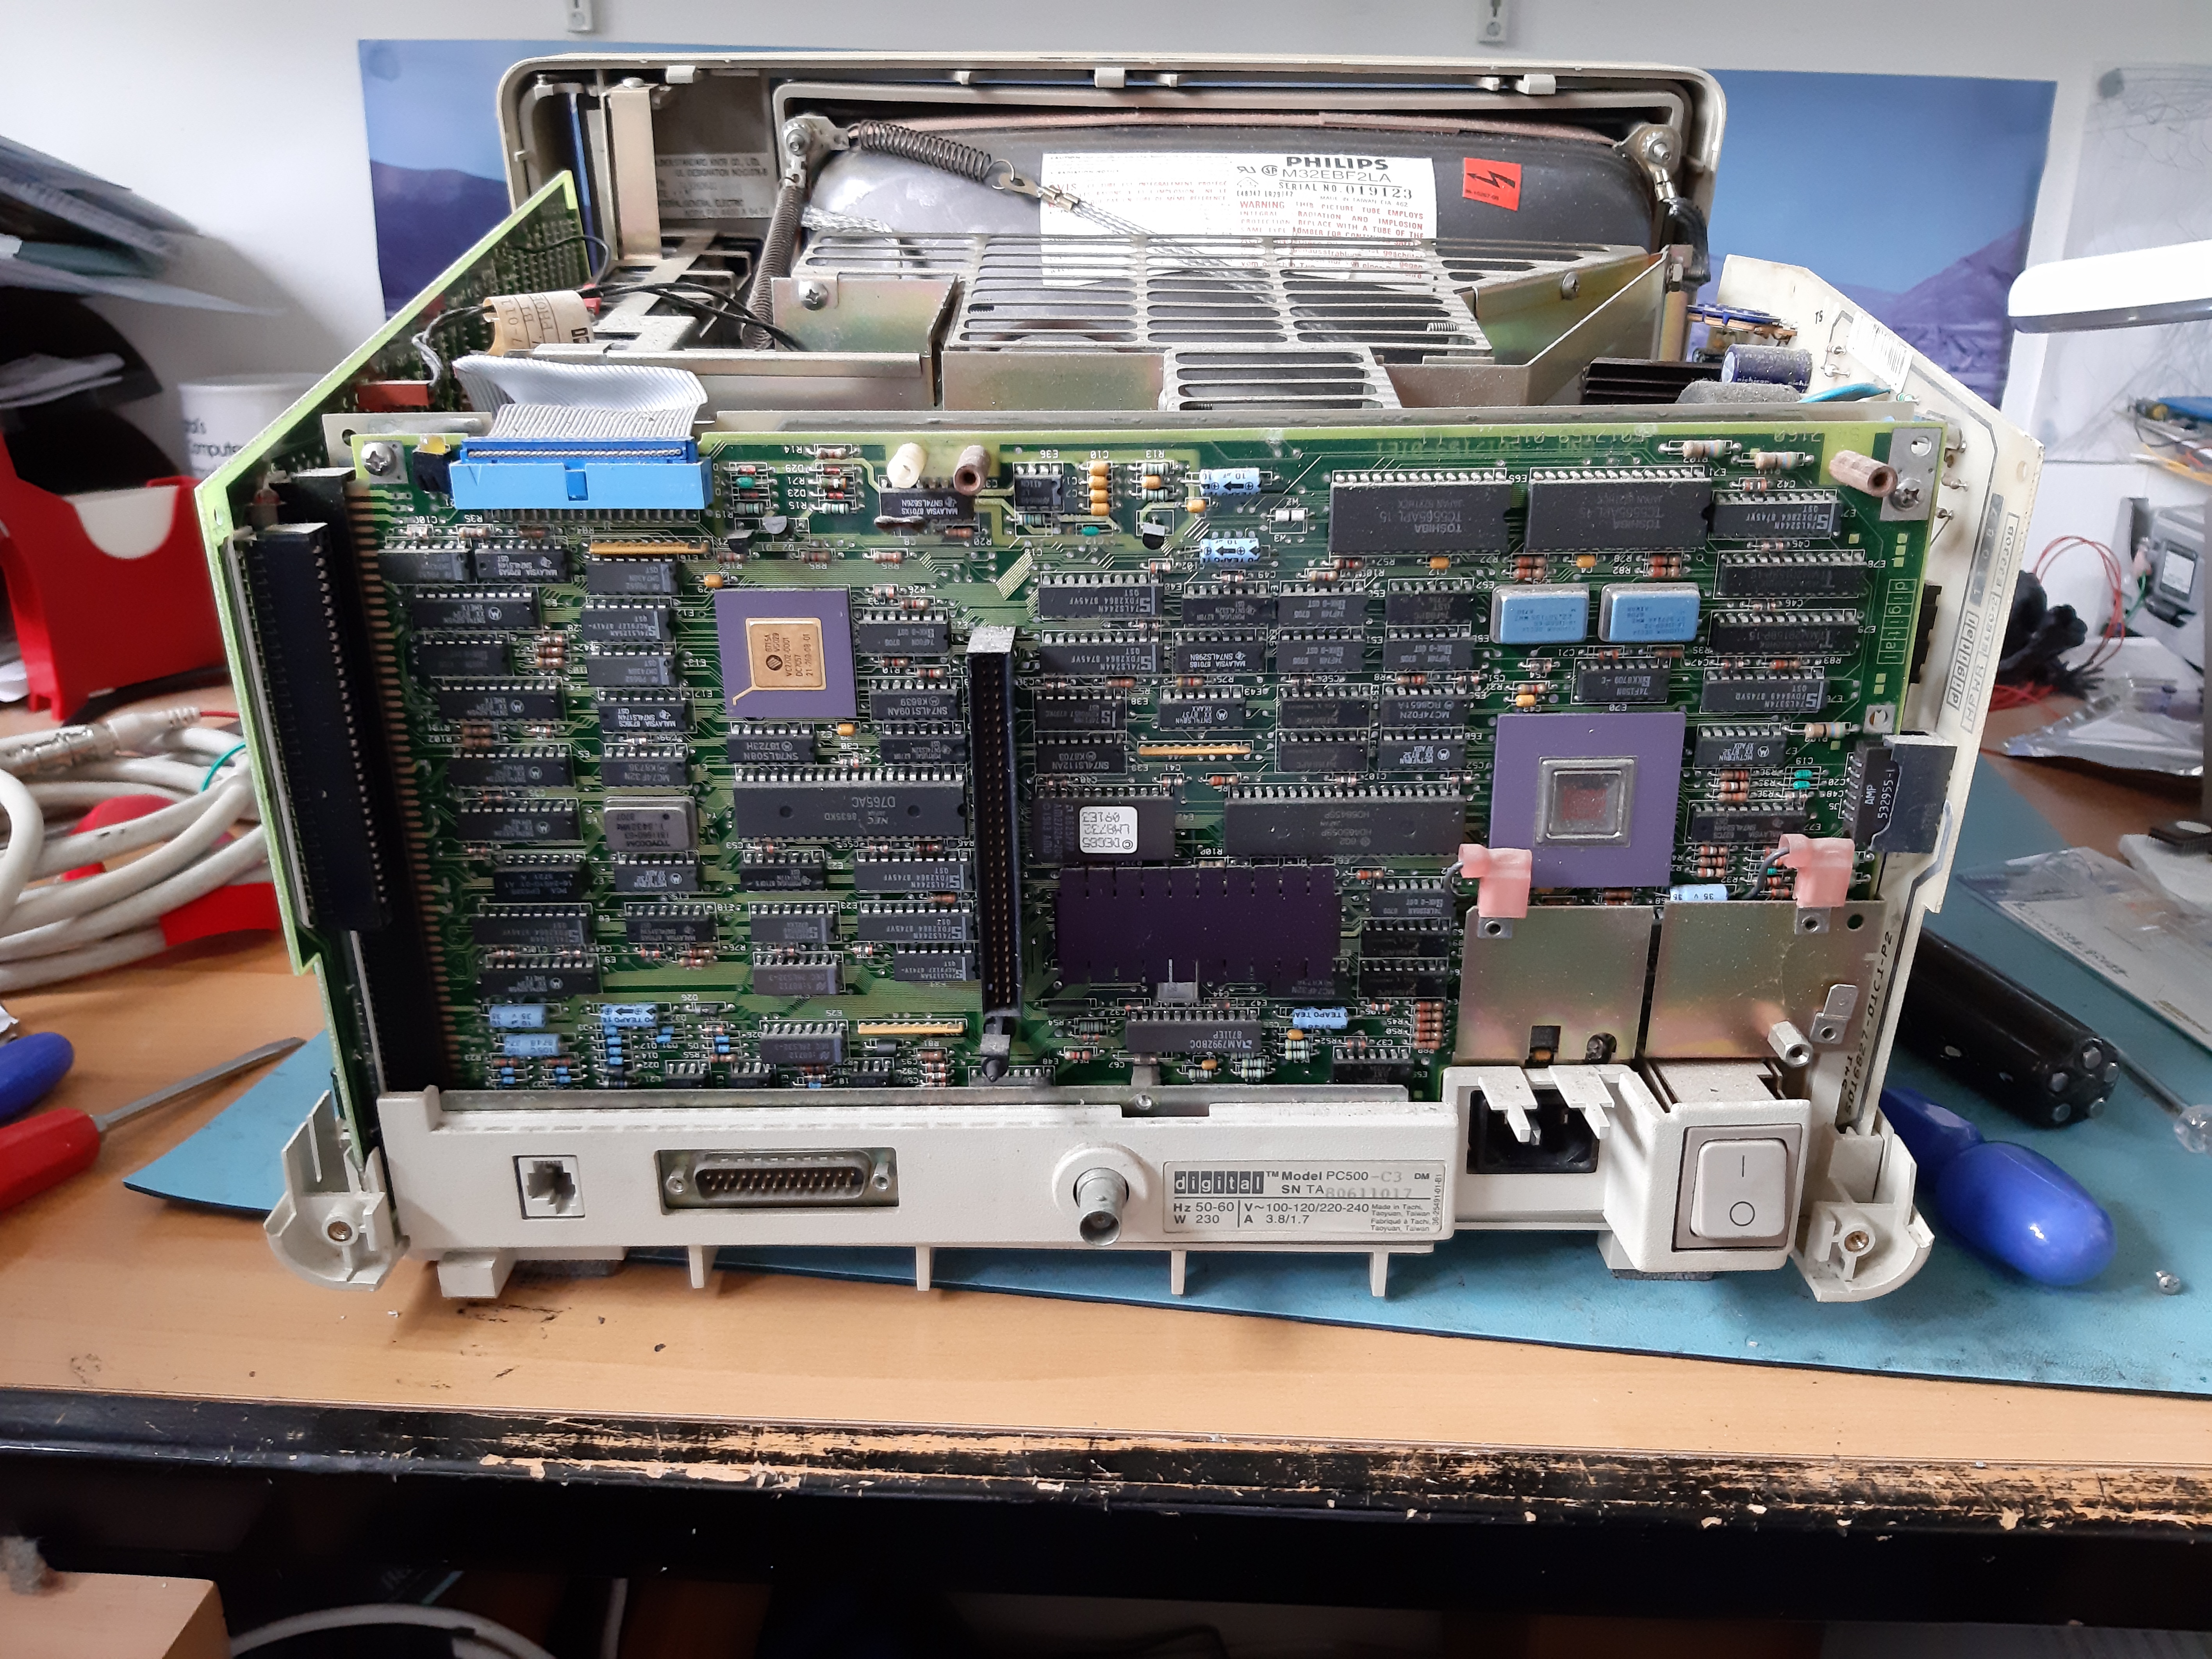
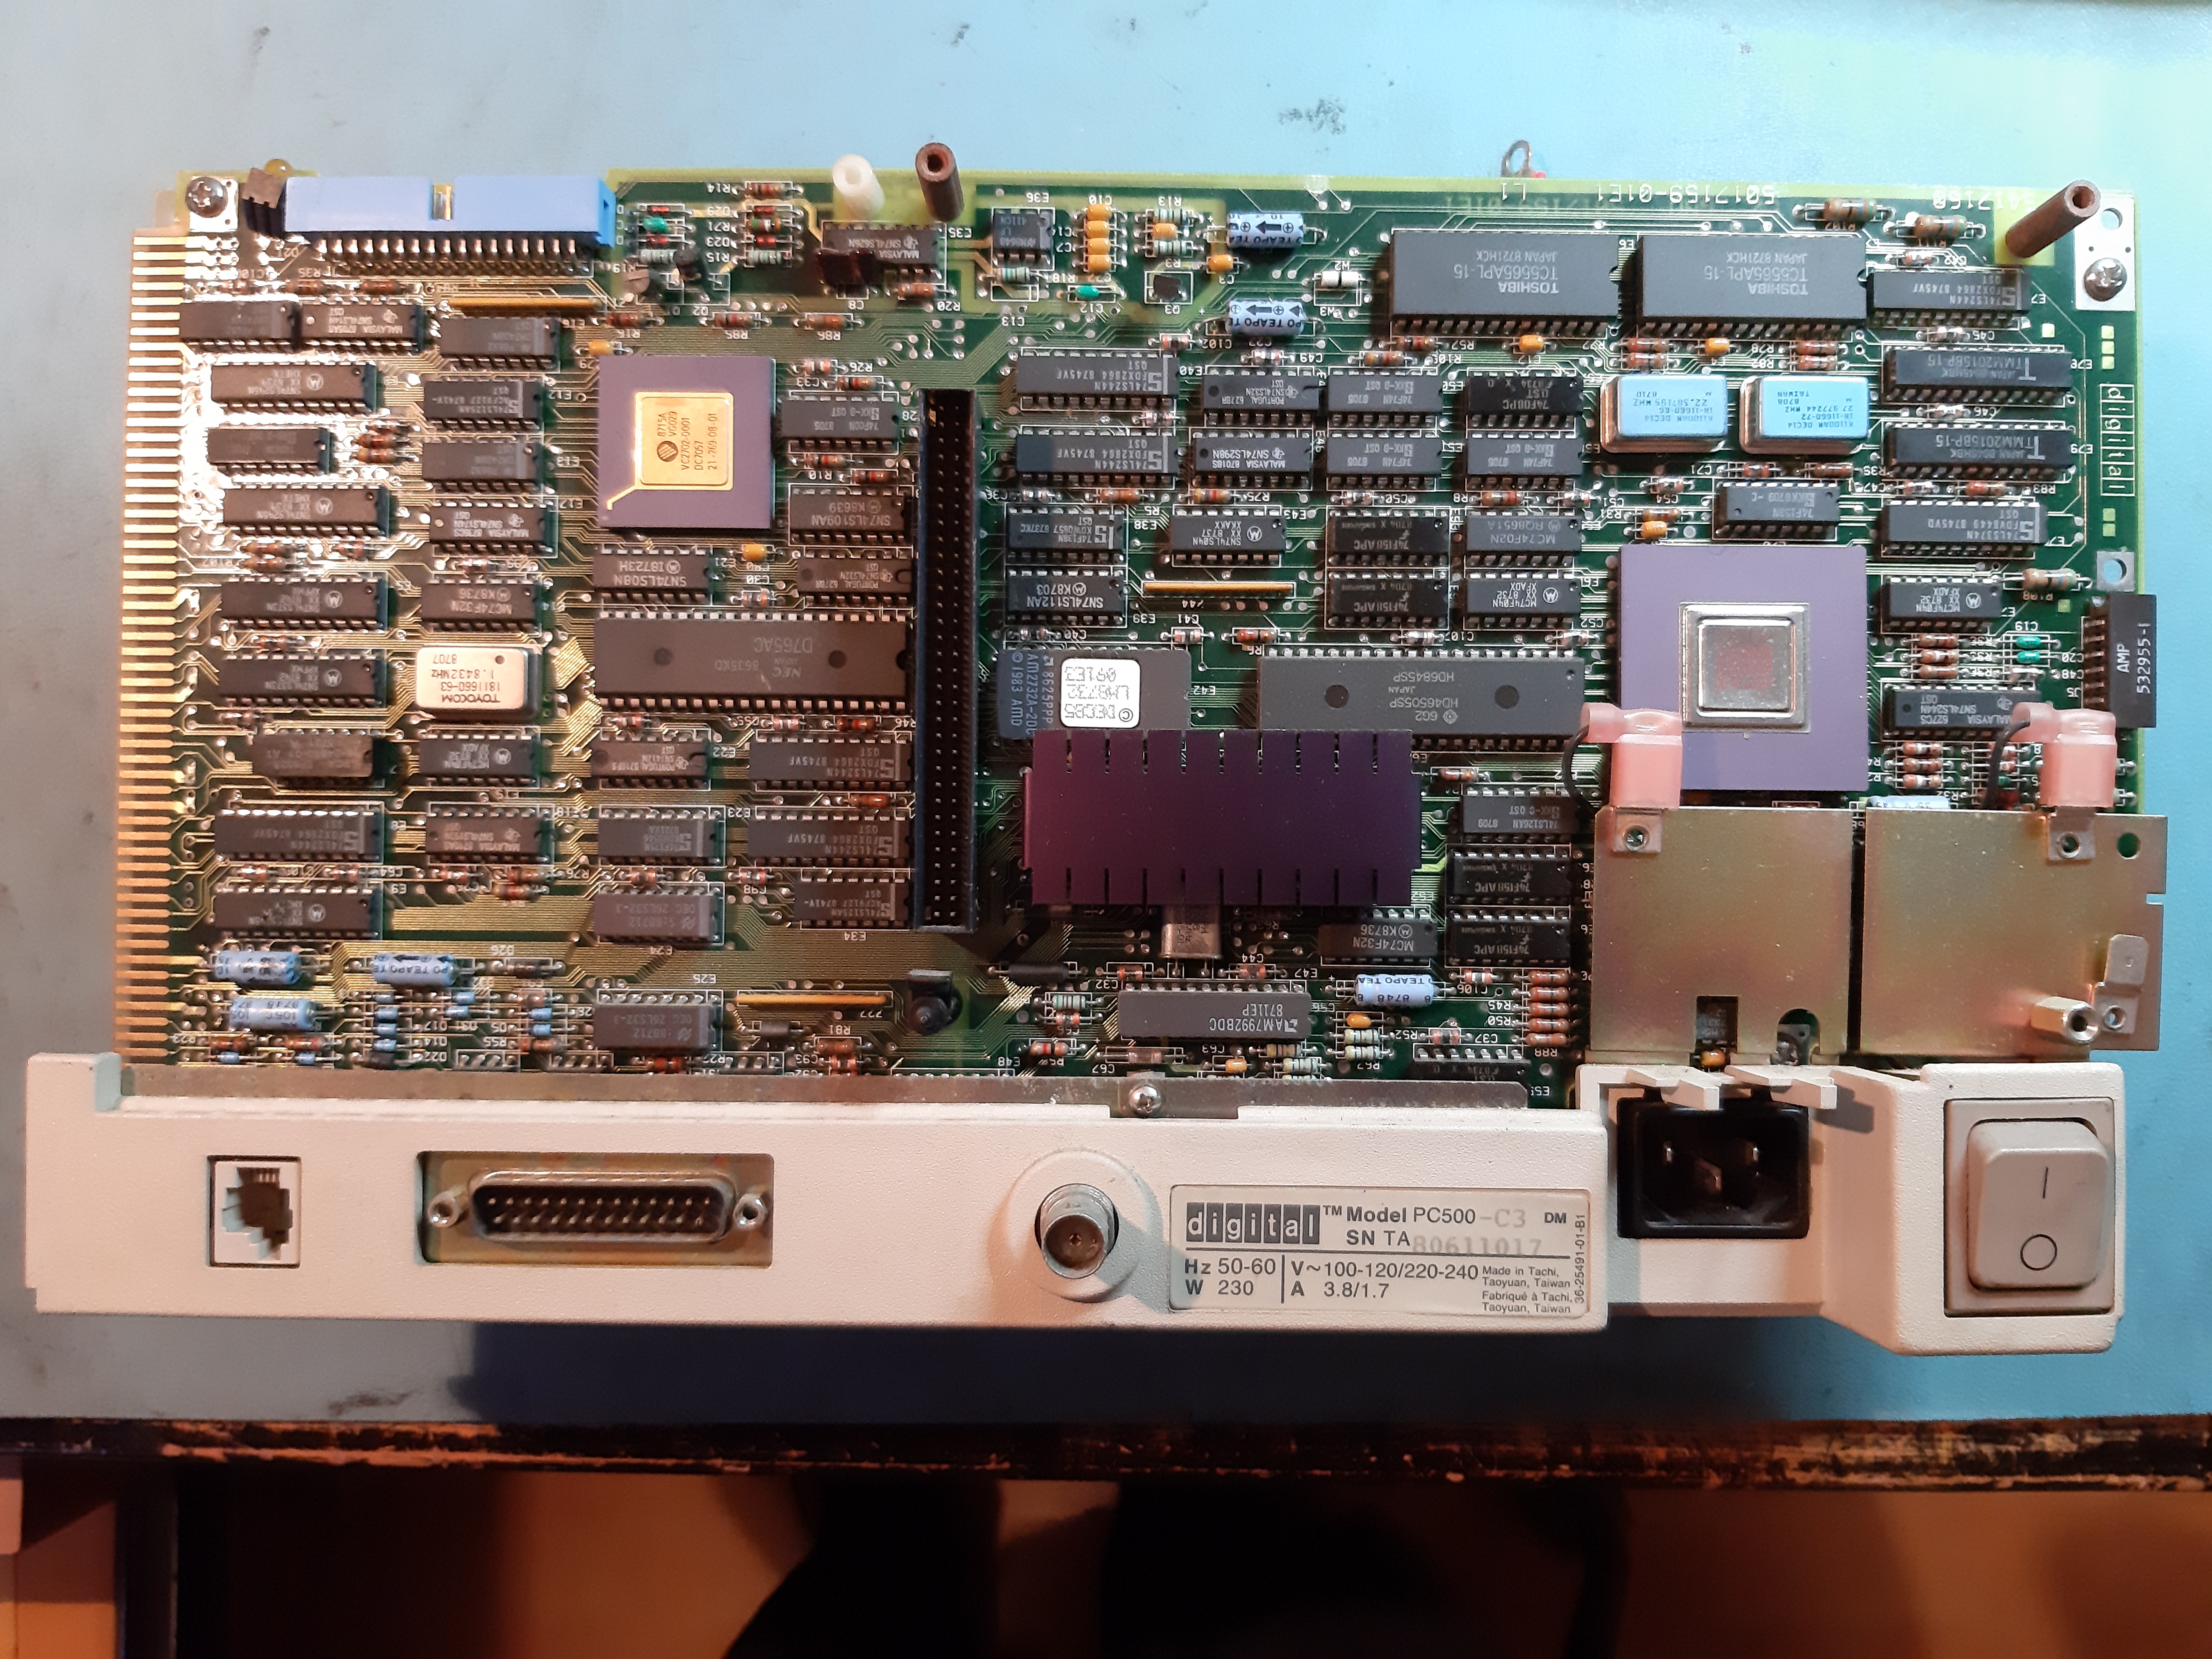
| Model Number | PC500-C3 |
| Serial Number | TA80611017 |
| Processor | Intel 80286 8MHz |
| Bus | ISA |
| Release Date | September 1986 |
| Cost New | ? |
| Acquired | 2019-06-02 |
| Configuration (as collected) | Amber screen 1MB memory LK250 keyboard (no cable) 1.2MB 5.25″ floppy disk drive Expansion unit with Seagate ST225 disk |
| Current Configuration | Unchanged |
| Status | Operational |
| Documentation | https://bitsavers.org/pdf/dec/vaxmate/ |
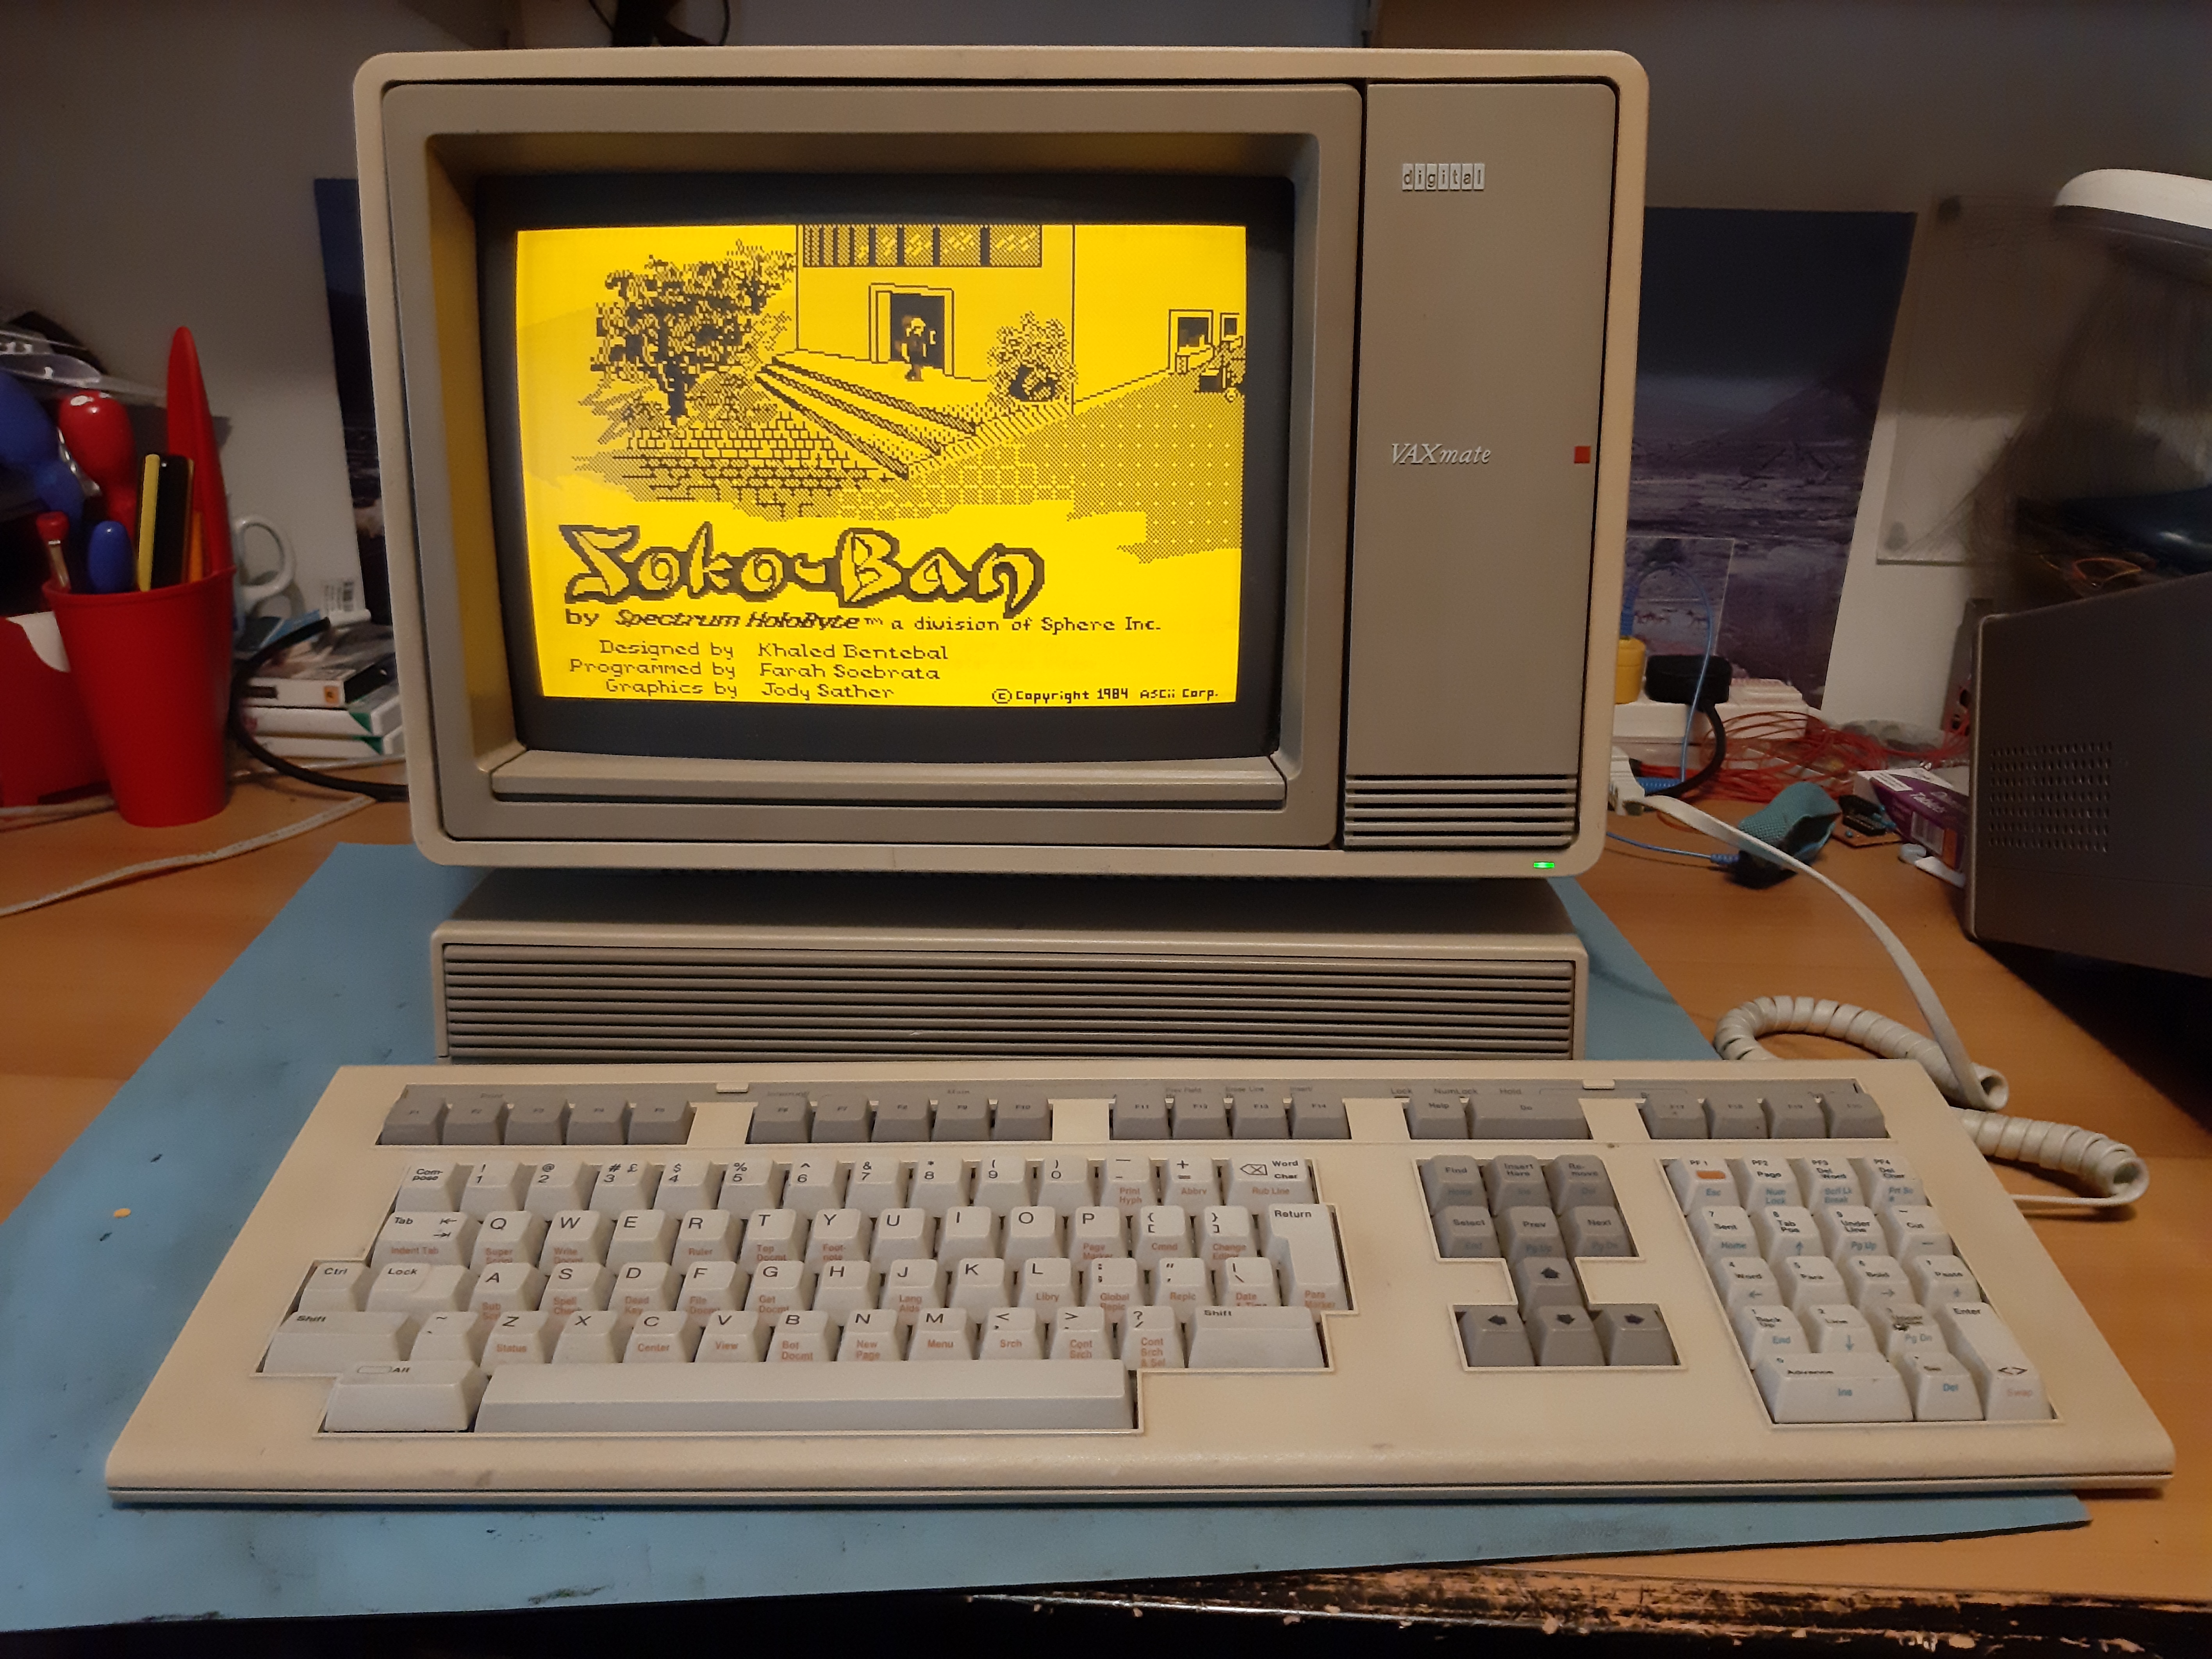
The VAXmate was the successor to the Rainbow. It is PC compatible and runs MS-DOS. It was the first commercial diskless PC, although mine came with an expansion box containing a Seagate ST225 hard disk. The machine uses an LK250 keyboard, that looks very similar to the LK201.
Apart from running MS-DOS it can also be used as a VT220 or VT240 emulator, using an emulator application. It also has a SETHOST application which can be used on DECnet to connect to other nodes in the network, using LAT or CTERM.
Restoration History
| Date | Details |
|---|---|
| 2019-06-16 | General inspection, removed rubber feet that had turned to goo. |
| 2019‑10‑26 | Inspected inside the ST225 disk for any stiction, none found. |
| 2019-11-09 | Floppy disk drive unblocked |
| 2019-12-21 | Replaced keyboard fuse blown in attempts to get a working keyboard cable. See VAXmate. |
| 2019-12-22 | Jumpers changed to allow hard disk to work (see Hard Disk below). Initialized the hard disk with FDISK as it seemed unreadable. Installed DOS on the hard disk. |
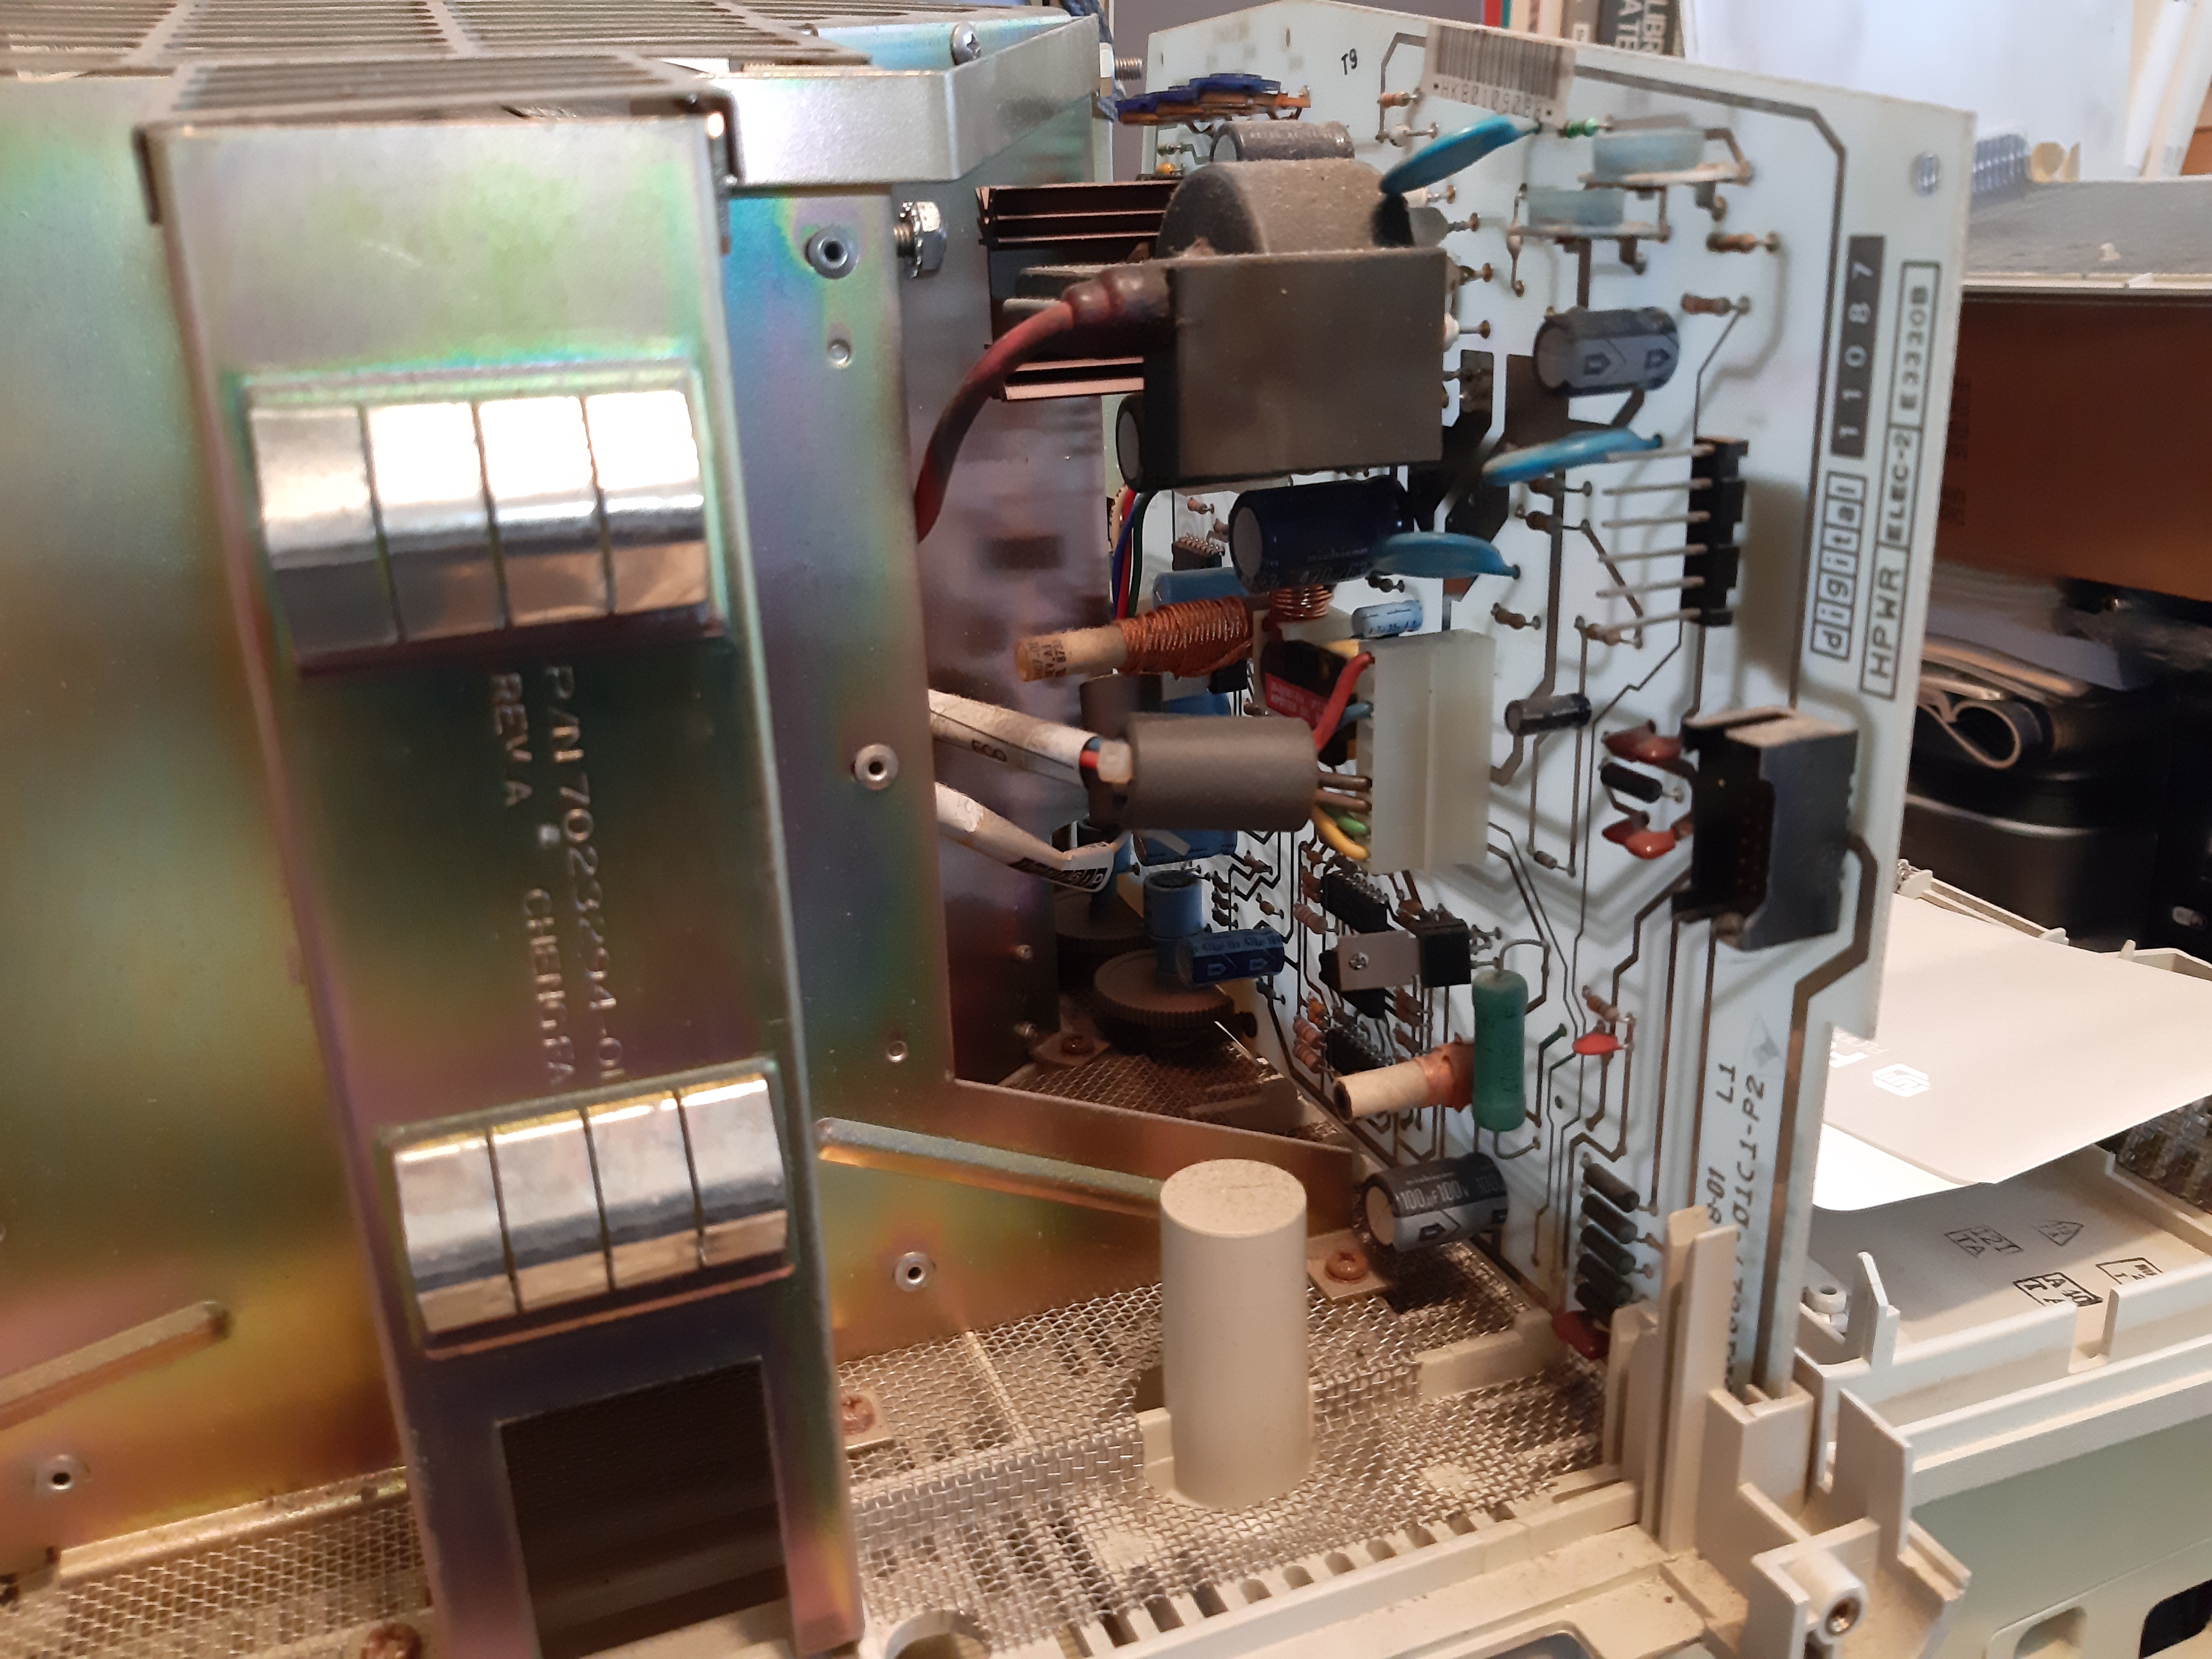
| 2019-12-23 | Imaged the newly formatted hard disk. Power supply failed. See VAXmate PSU (H7270) Failure. |
| 2020-05-15 | PSU fixed but the screen did not come on. See VAXmate H7270 PSU Fixed, But No Video. |
| 2020-04-16 | RE-capped the monitor board. |
| 2020-04-17 | Cleaned and re-greased the anode cap on the flyback transformer. |
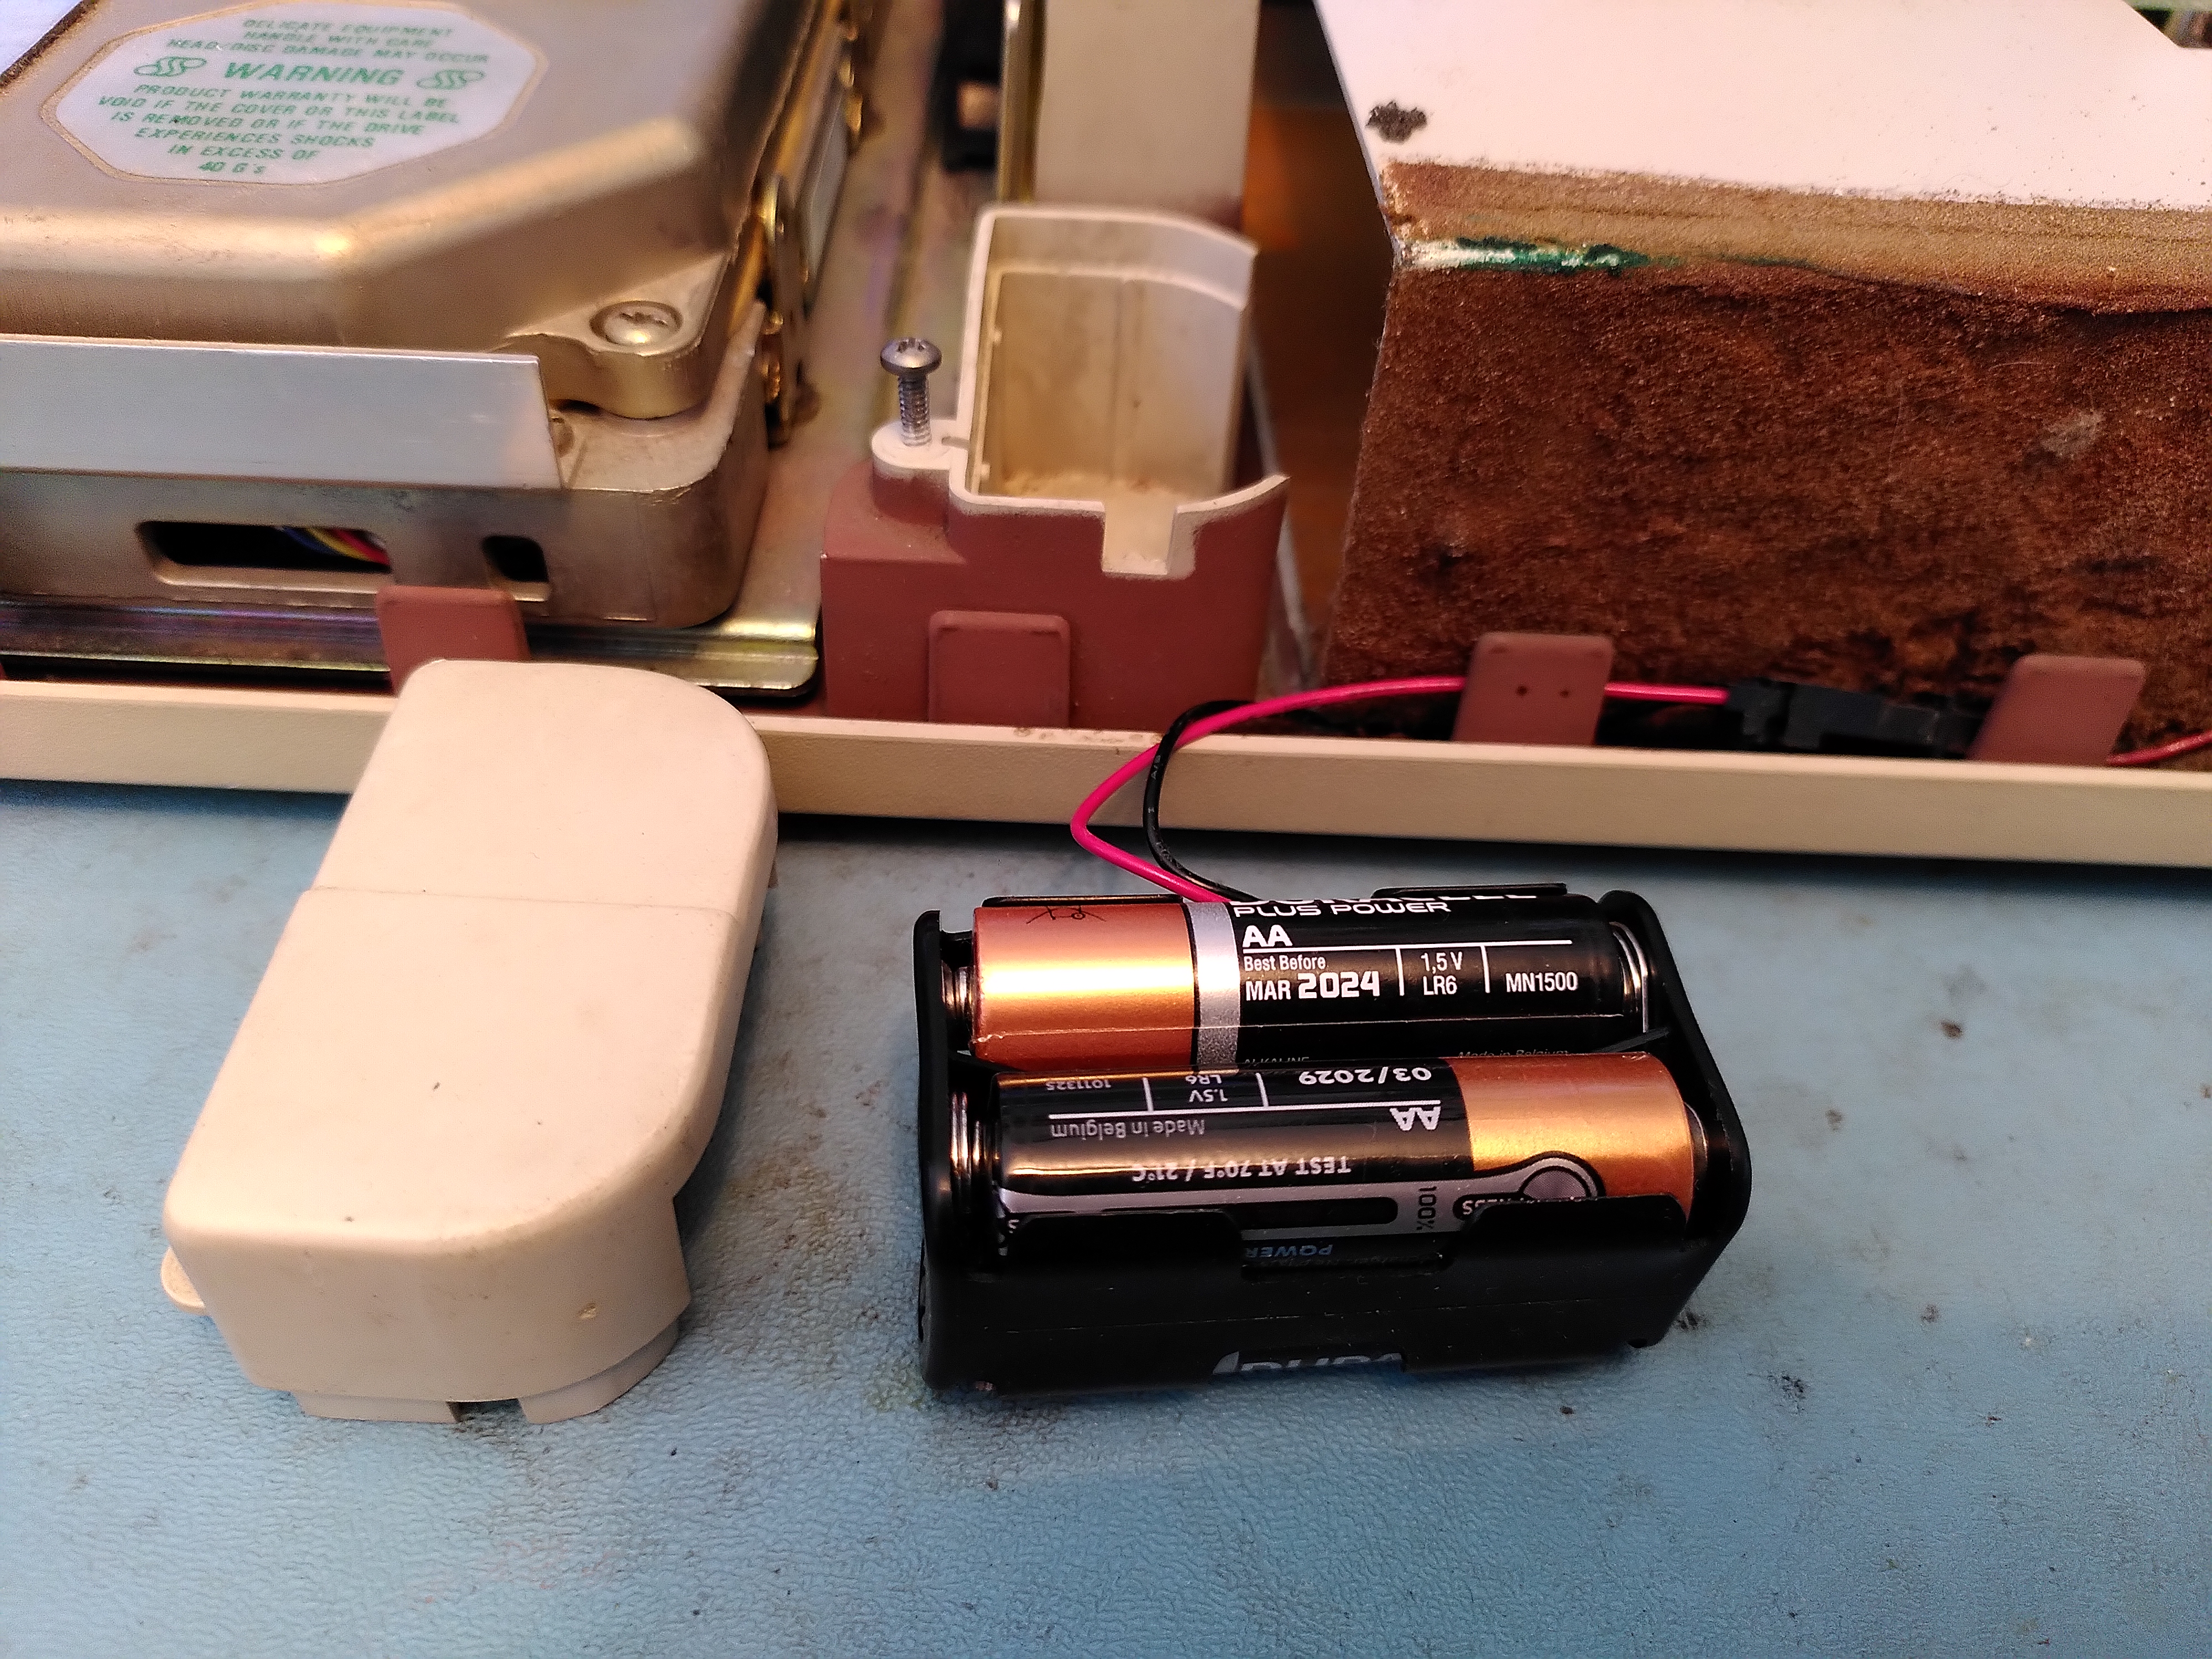
| 2020-06-27 | Replaced battery with a 4-cell AA battery set. |
| 2024-04-03 | Flyback transformer replaced. |
Custom Keyboard Cable
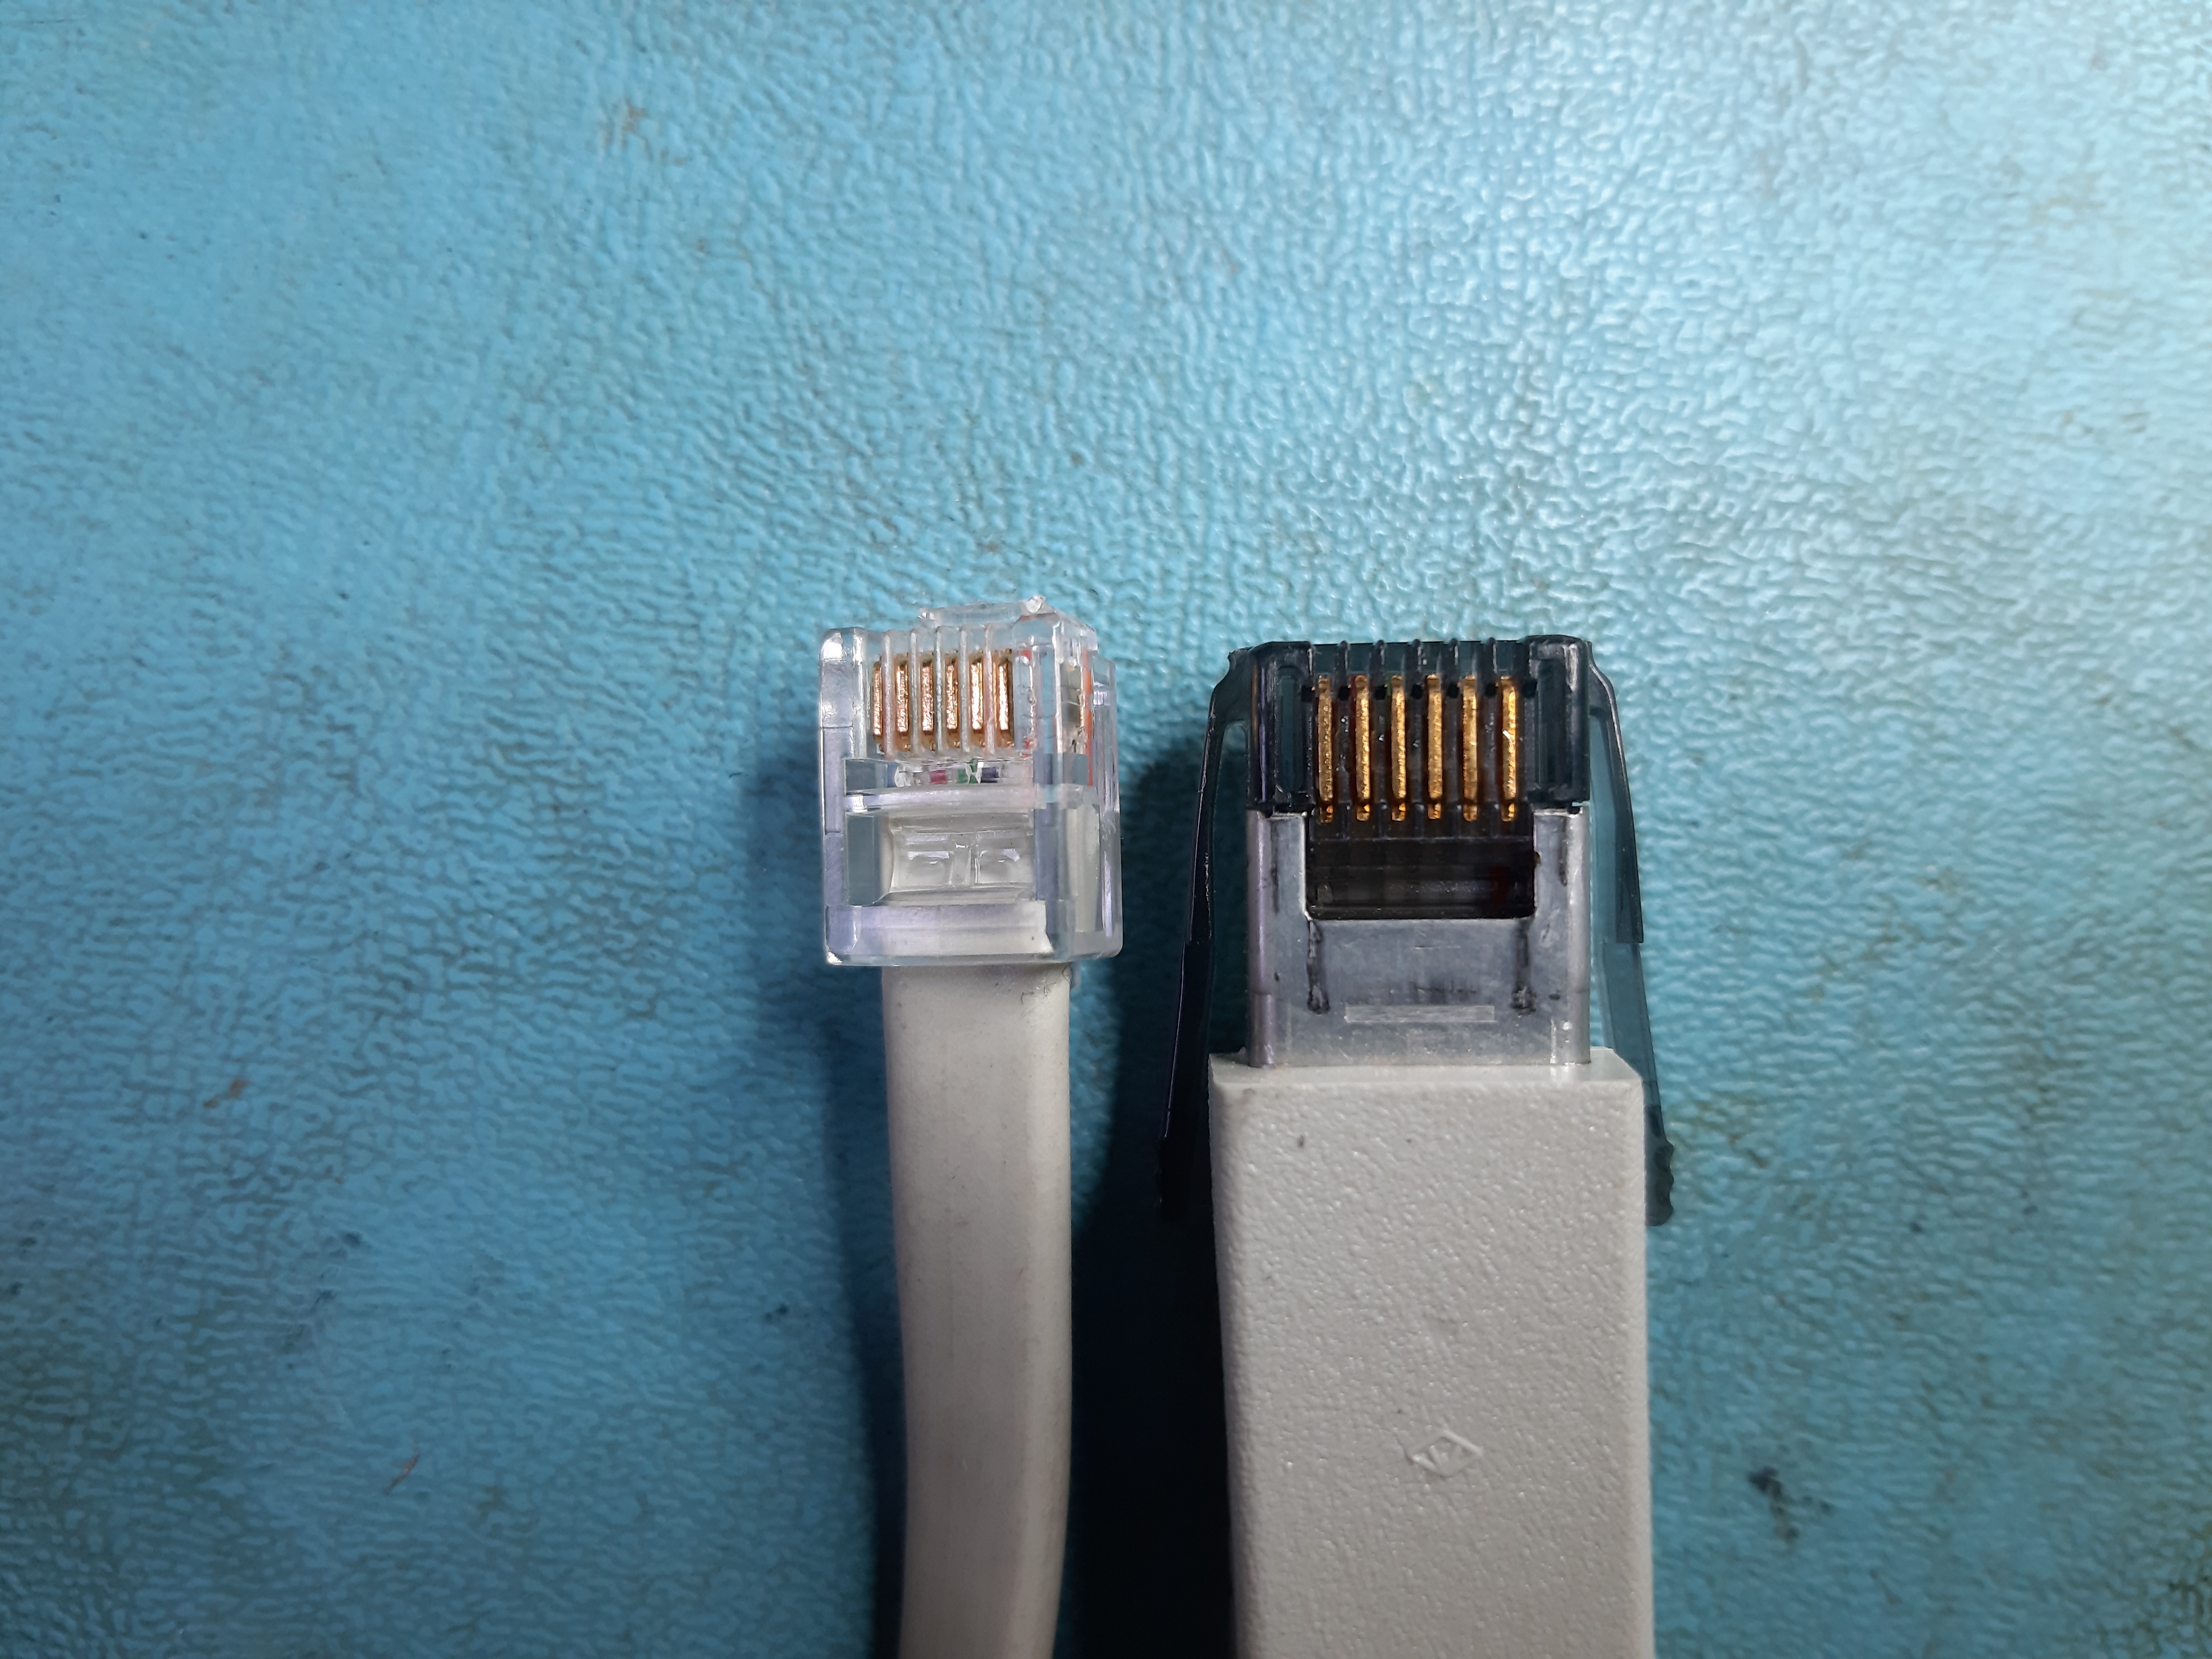
My machine came with the LK250 keyboard, but no cable. The cable uses a Shielded Data Link (SDL) connector at the VAXmate end and an RJ12 on the keyboard. I have since acquired a second keyboard and this is what the cable looks like:
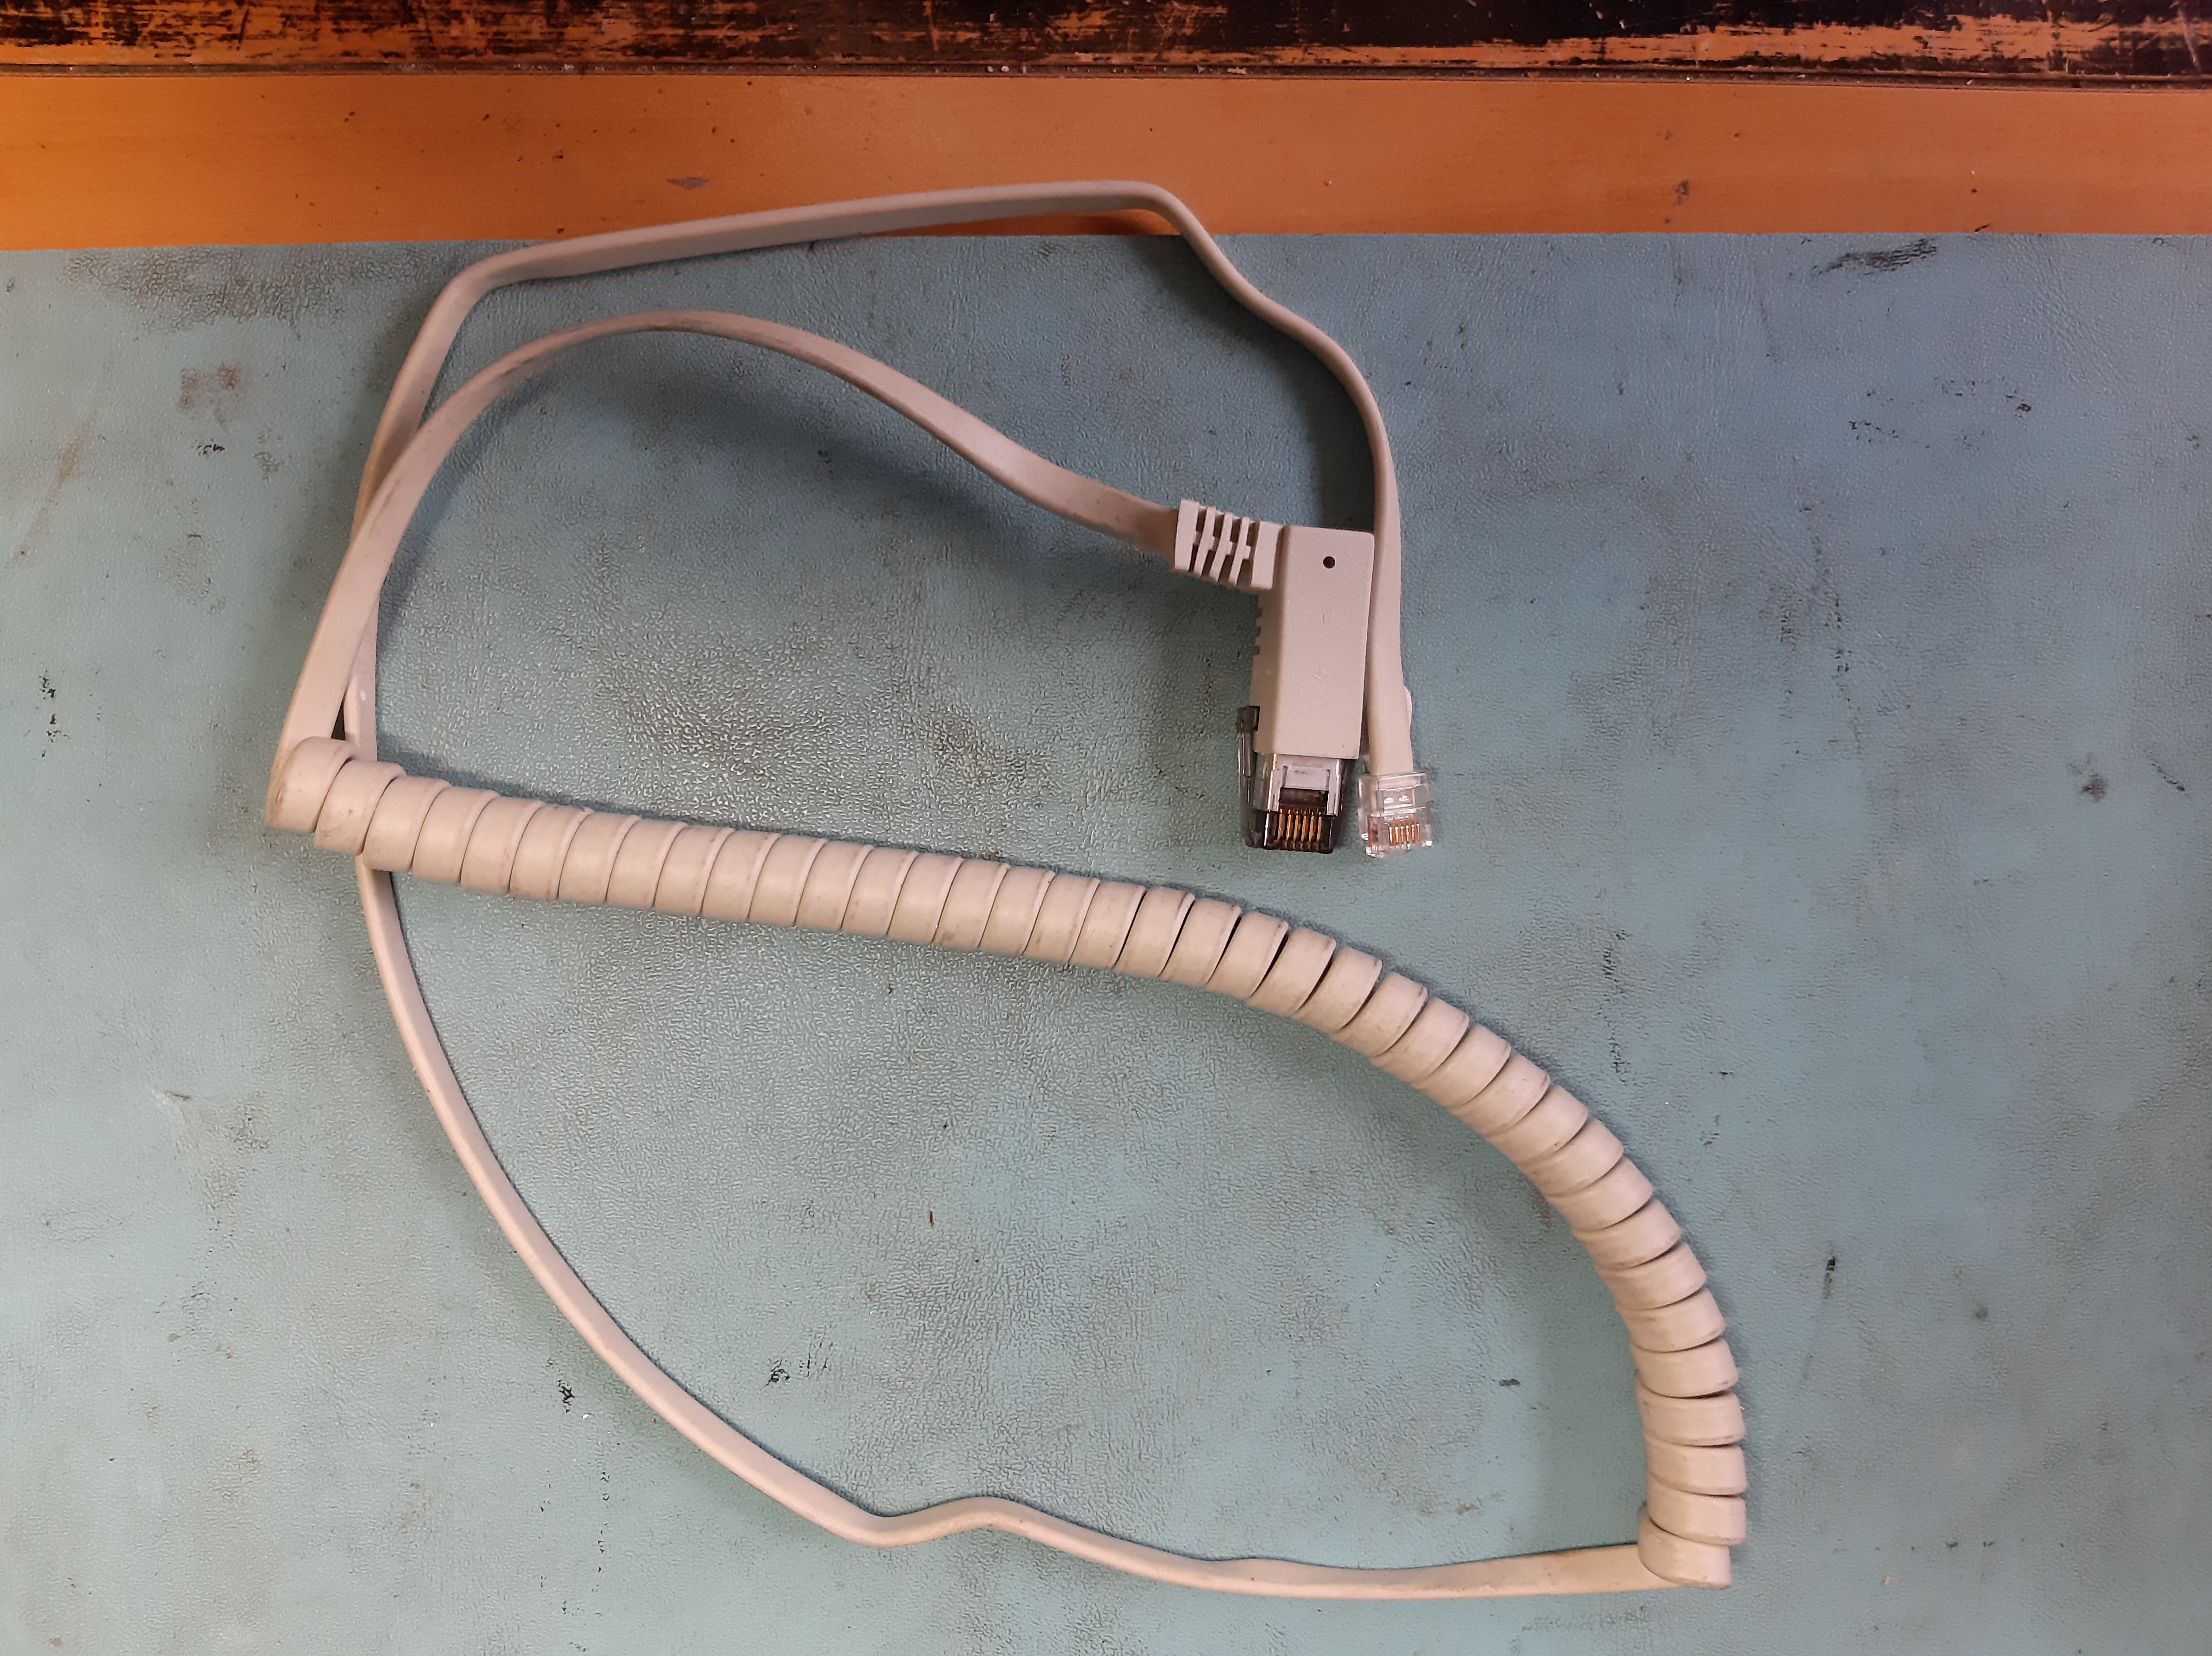
It is still possible at the time of writing to get 6-way SDL connectors. However the IBM Model M keyboard cable already has this connector, so if you can get one of these then it is possible to make your own cable without having to get an SDL6 connector. The IBM cable only has 4 wires in it, but the pinout for the cable is such that it will work with those 4 wires. The IBM cable has a PS/2 connector on the other end, so in order not to butcher the IBM cable you can get a PS/2 cable and put the RJ12 on the other end of it. The pinout for the cable is straight through, so in the picture below the leftmost pin of the SDL6 connector is connected to the leftmost pin of the RJ12 connector, and so on in order across the connectors.
Be careful if you probe the VAXmate keyboard port with the machine switched on. I managed to blow an internal fuse on the board inside. Details of the fuse are here.
Software
To get the machine running at all I used VAXmate software which can be found here. Specifically I used the VAXmate Client Install V1.1 disk (BN-HE05C-XH). This floppy disk boots to MS-DOS and contains the FDISK utility needed to initialise, partition and format the hard disk.
Just with this disk I was able to then run a simple game. You can see Sokoban running on the VAXmate in the main picture.
Hard Disk
The machine came with a Seagate ST225 hard disk. I tried to use the David Gesswein MFM emulator to image it before trying to use it, but all attempts failed. It seemed unable to locate track 0. It looks like the disk was not initialised as I have since been able to get it to work. Some of the notes below may be useful to anyone putting a new hard disk into a VAXmate.
One thing to note when using the MFM emulator, make sure that it emulates a drive with Drive Select set to 1.
After failing to image the hard disk I thought I would try it in the VAXmate itself, to see if it could recognise anything. Running FDISK I got the message “Parameters of hard disk cannot be determined”. I thought this was just a bad disk. But I got the same problem with the MFM emulator as well, and I couldn’t get much emulated disk activity from the machine. When starting the machine I got POST codes 81 or 82. Code 81 would happen if I started the MFM emulator after the machine had started, code 82 would happen if the machine started with the MFM emulator already running.
The lack of emulator activity led to a suspicion that there was a problem with the hard disk controller, which led to an unexpected breakthrough. The hard disk controller has a number of jumpers documented in the Technical Description. Some of the jumpers were not set to their default. In trying to fix this I unintentionally changed a different jumper. The two jumpers I changed were:
- W4. Changed it to short pins 1-2 (non-standard, for supporting two drives)
- W6. Changed it to short pins 1-2 (standard setting for 35us step rate, although the Technical Description clearly has a typo here)
W5 was left at its non-default of shorting pins 2-3 (Internal power-up circuit signal).
This allowed the hard disk to be detected by FDISK. It needed to be initialised, partitioned and formatted. After all this was done I was able to put the W4 and W6 jumpers back to where they were before the hard disk worked fine and I was able to boot off it too.
I have not yet succeeded in getting the MFM emulator to emulate the hard disk. When I repair the power supply I will try again. It looks like two cylinders are getting a different sector format to all the rest. An interesting note when using the MFM emulator is that the machine needs the emulator to be running at boot time, otherwise it assumes there is no disk and does not check again. So in practice this means the machine will need to be started twice when using the MFM emulator, once to give the emulator power and start running the emulation software, and then again, without shutting down the emulator, so that the machine can detect the emulated disk.
Battery
The expansion box contains a non-rechargeable 6V lithium battery for the Real Time Clock composed of two BR-C batteries. These seem to be still available but are quite expensive. So I decided to get a small 4xAA battery holder and install that instead. Obviously it doesn’t fit snugly and is loose inside the expansion box, but the arrangement works well.
Documentation
The documentation, including the Service Guide which lists the POST codes, has now been published on BitSavers.
