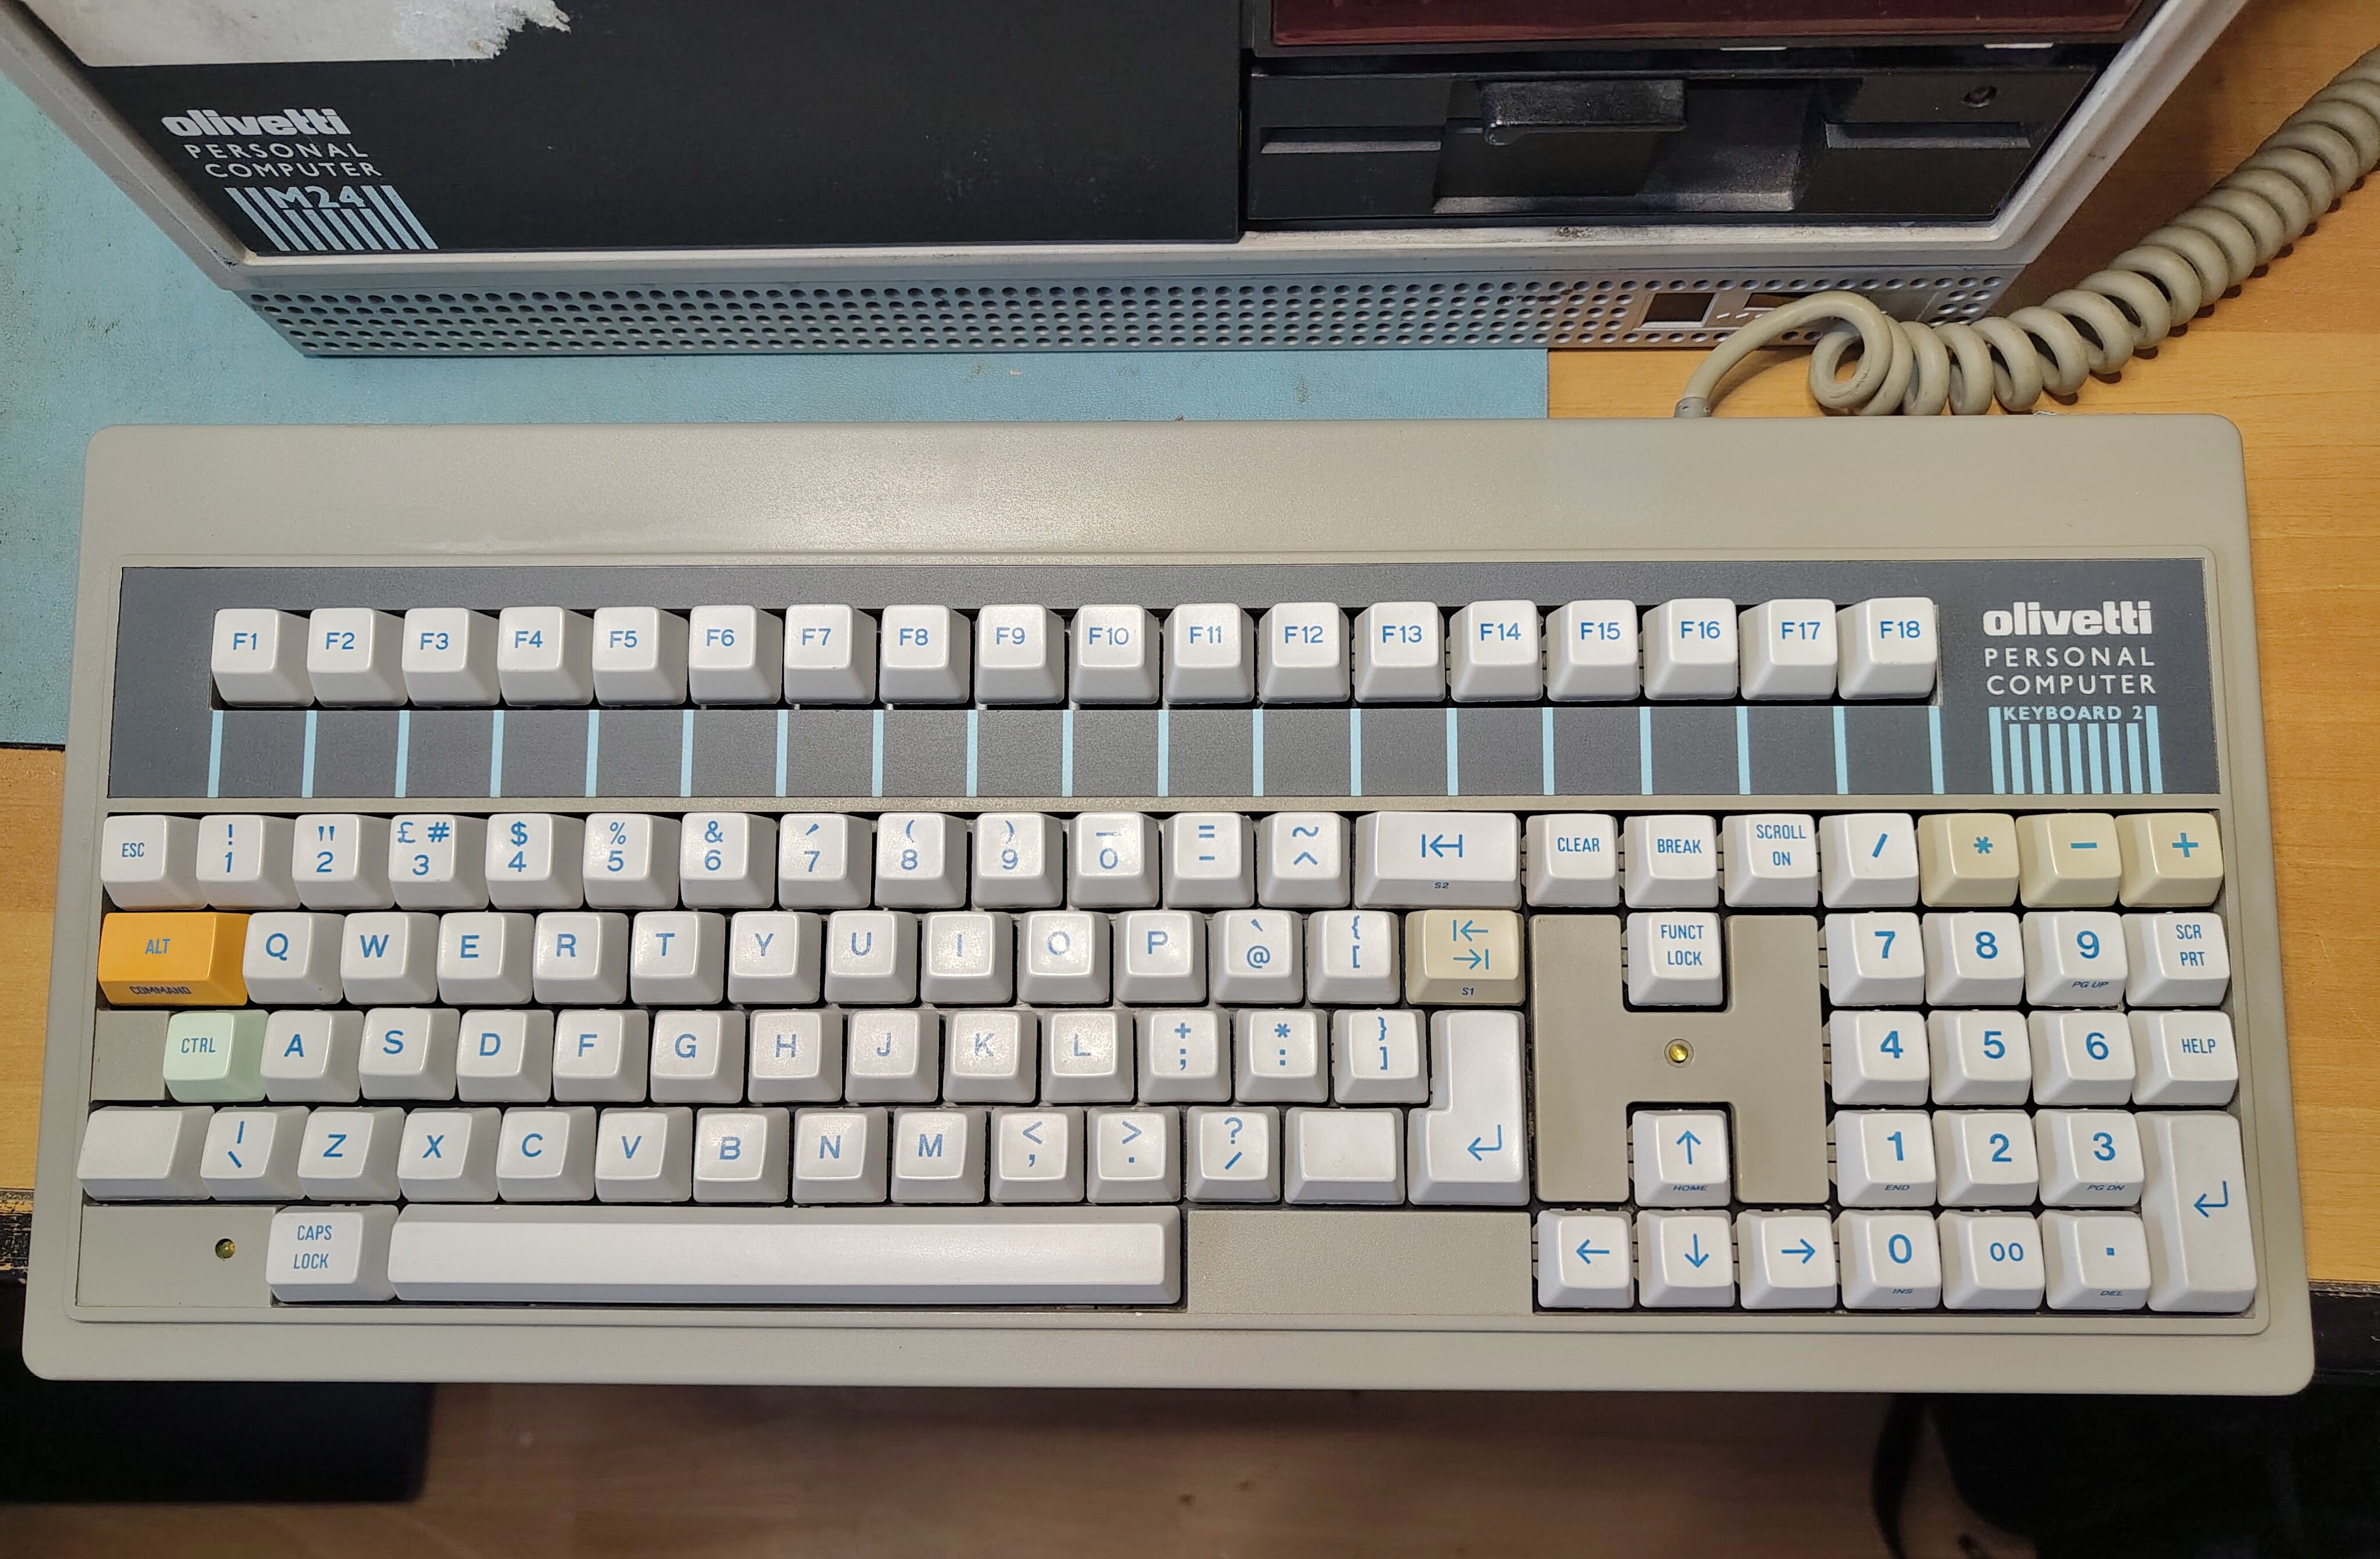
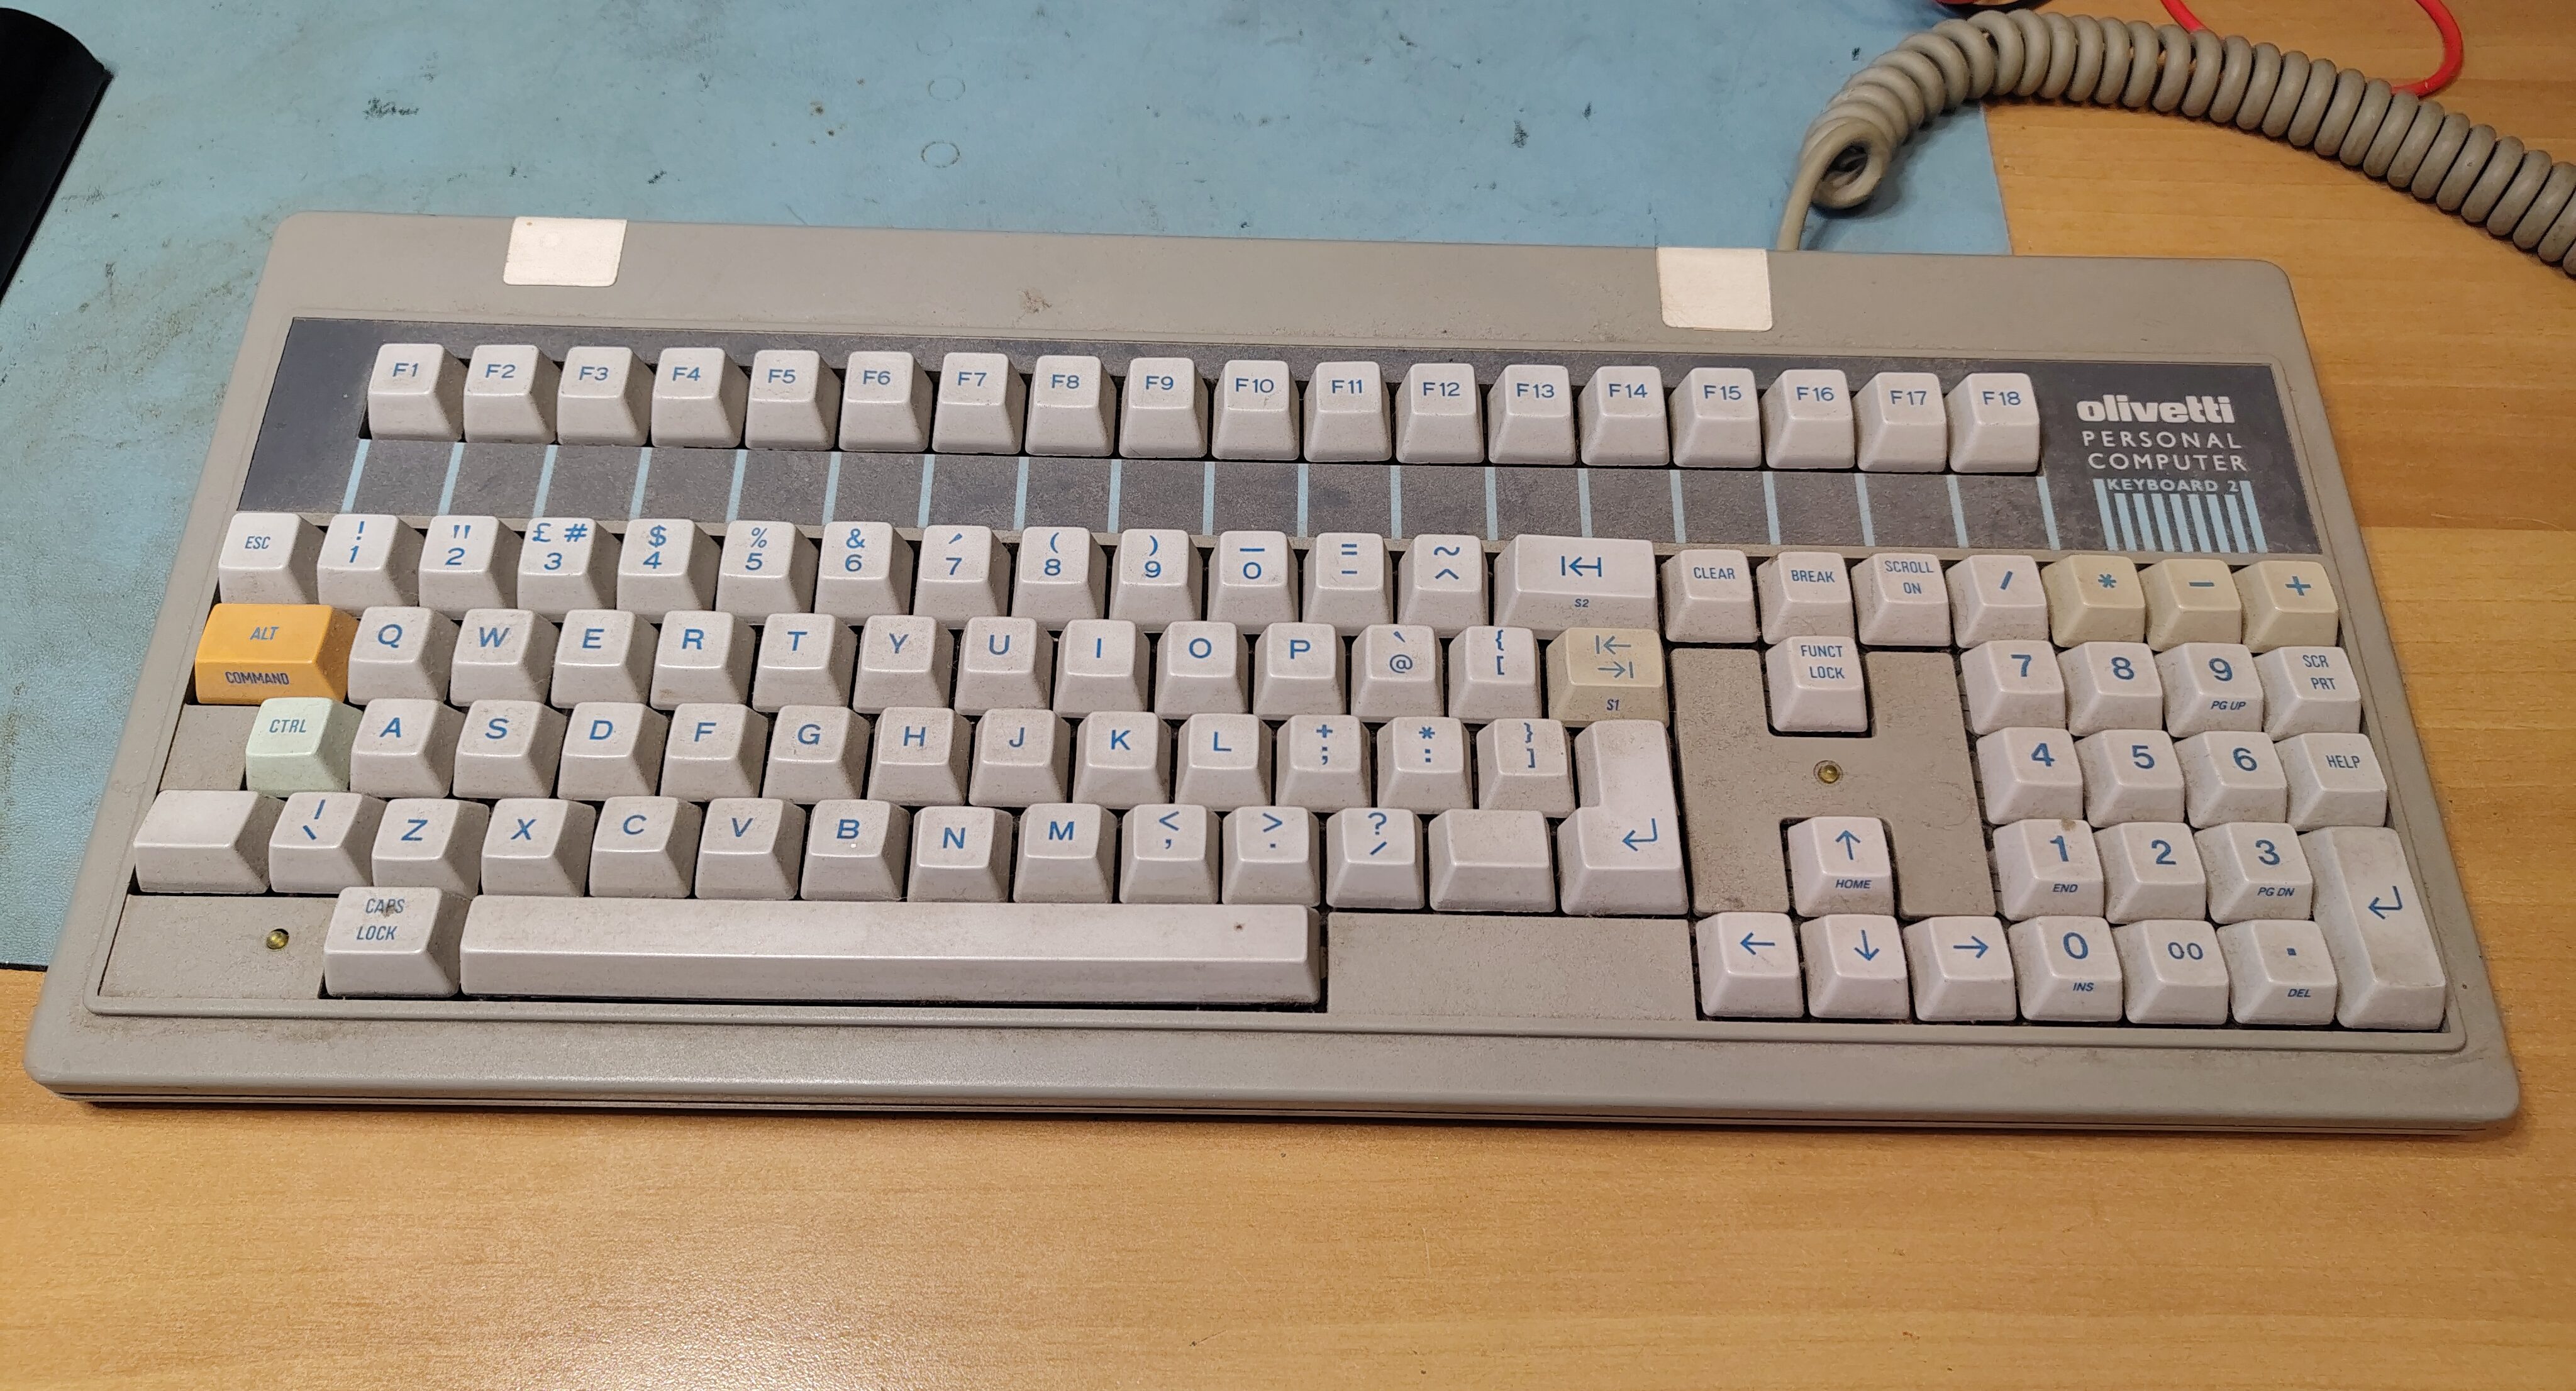
When I acquired my first M24 it came with a keyboard. I had found it to be unreliable with some of the keys needing to be pressed multiple times before they were registered, and the enclosure was held together at the back with some tape because two of the retaining lugs have broken off. This is how the keyboard looked:
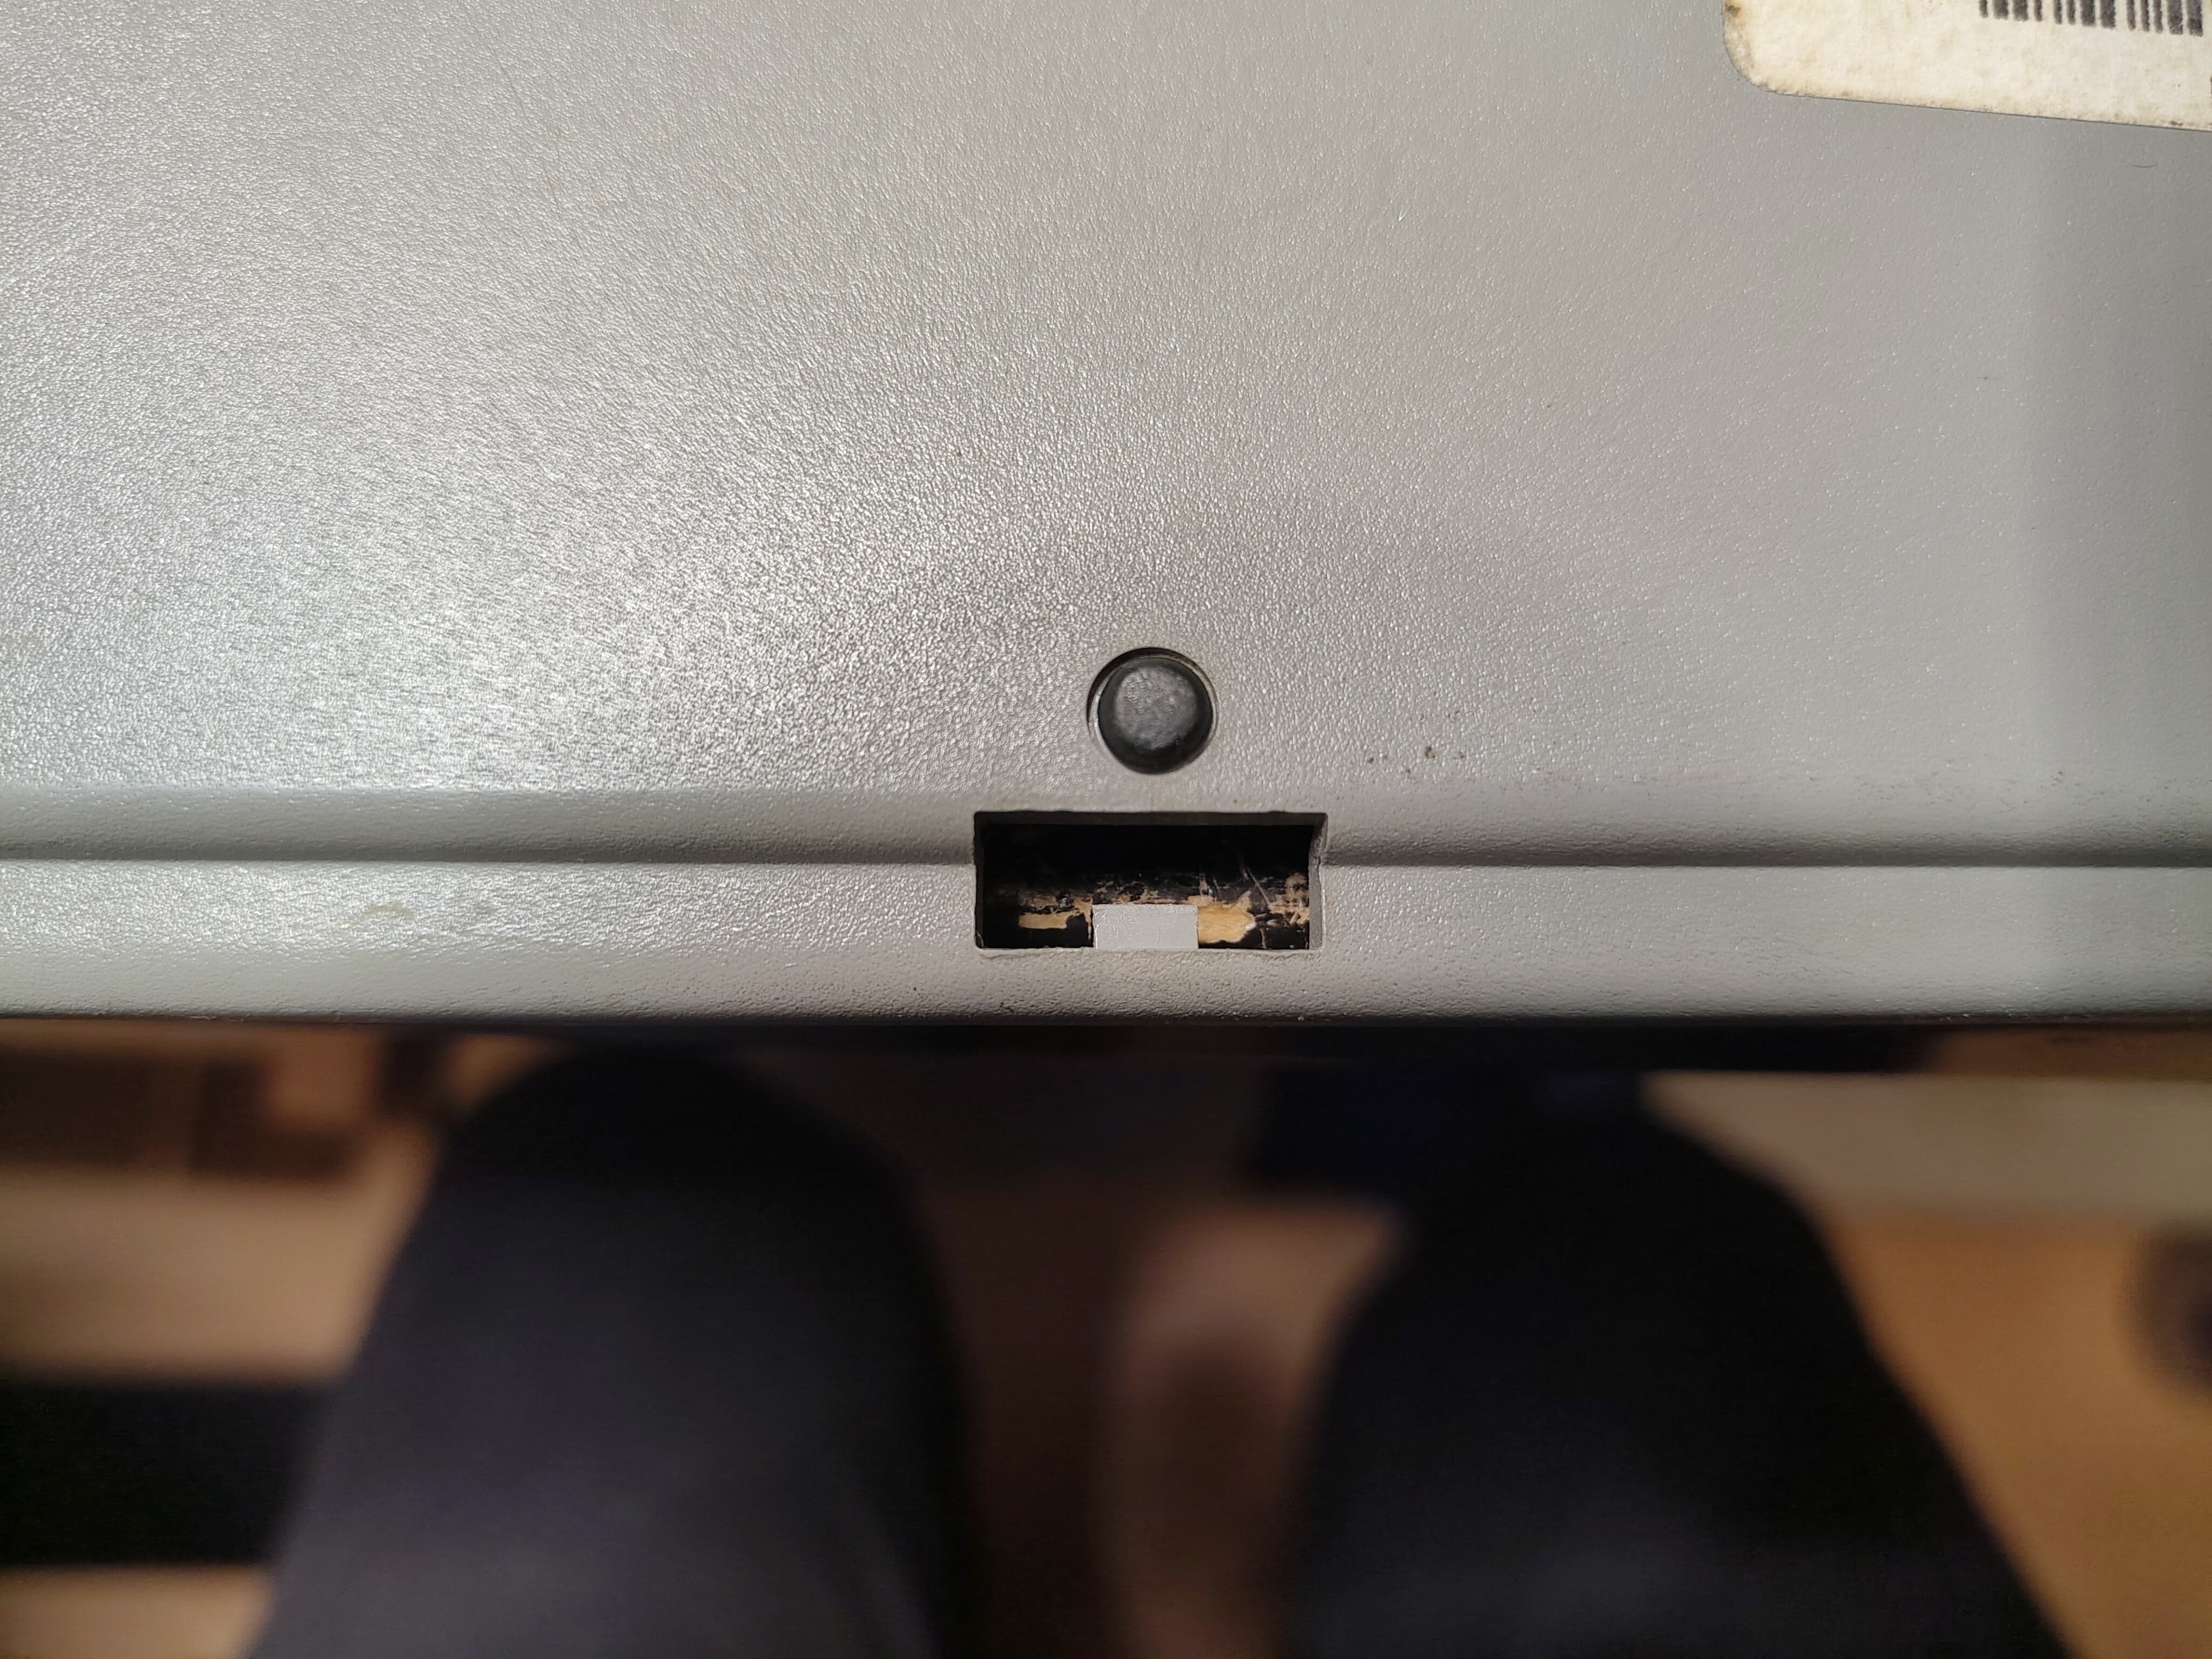
It proved quite easy to take the keyboard apart. There are clips on the underside that can be carefully prised open with a screwdriver, but two of them at the back didn’t work because the retaining lug had broken off. I also managed to crack one of the clips, but some Pro Weld seemed to fix that.
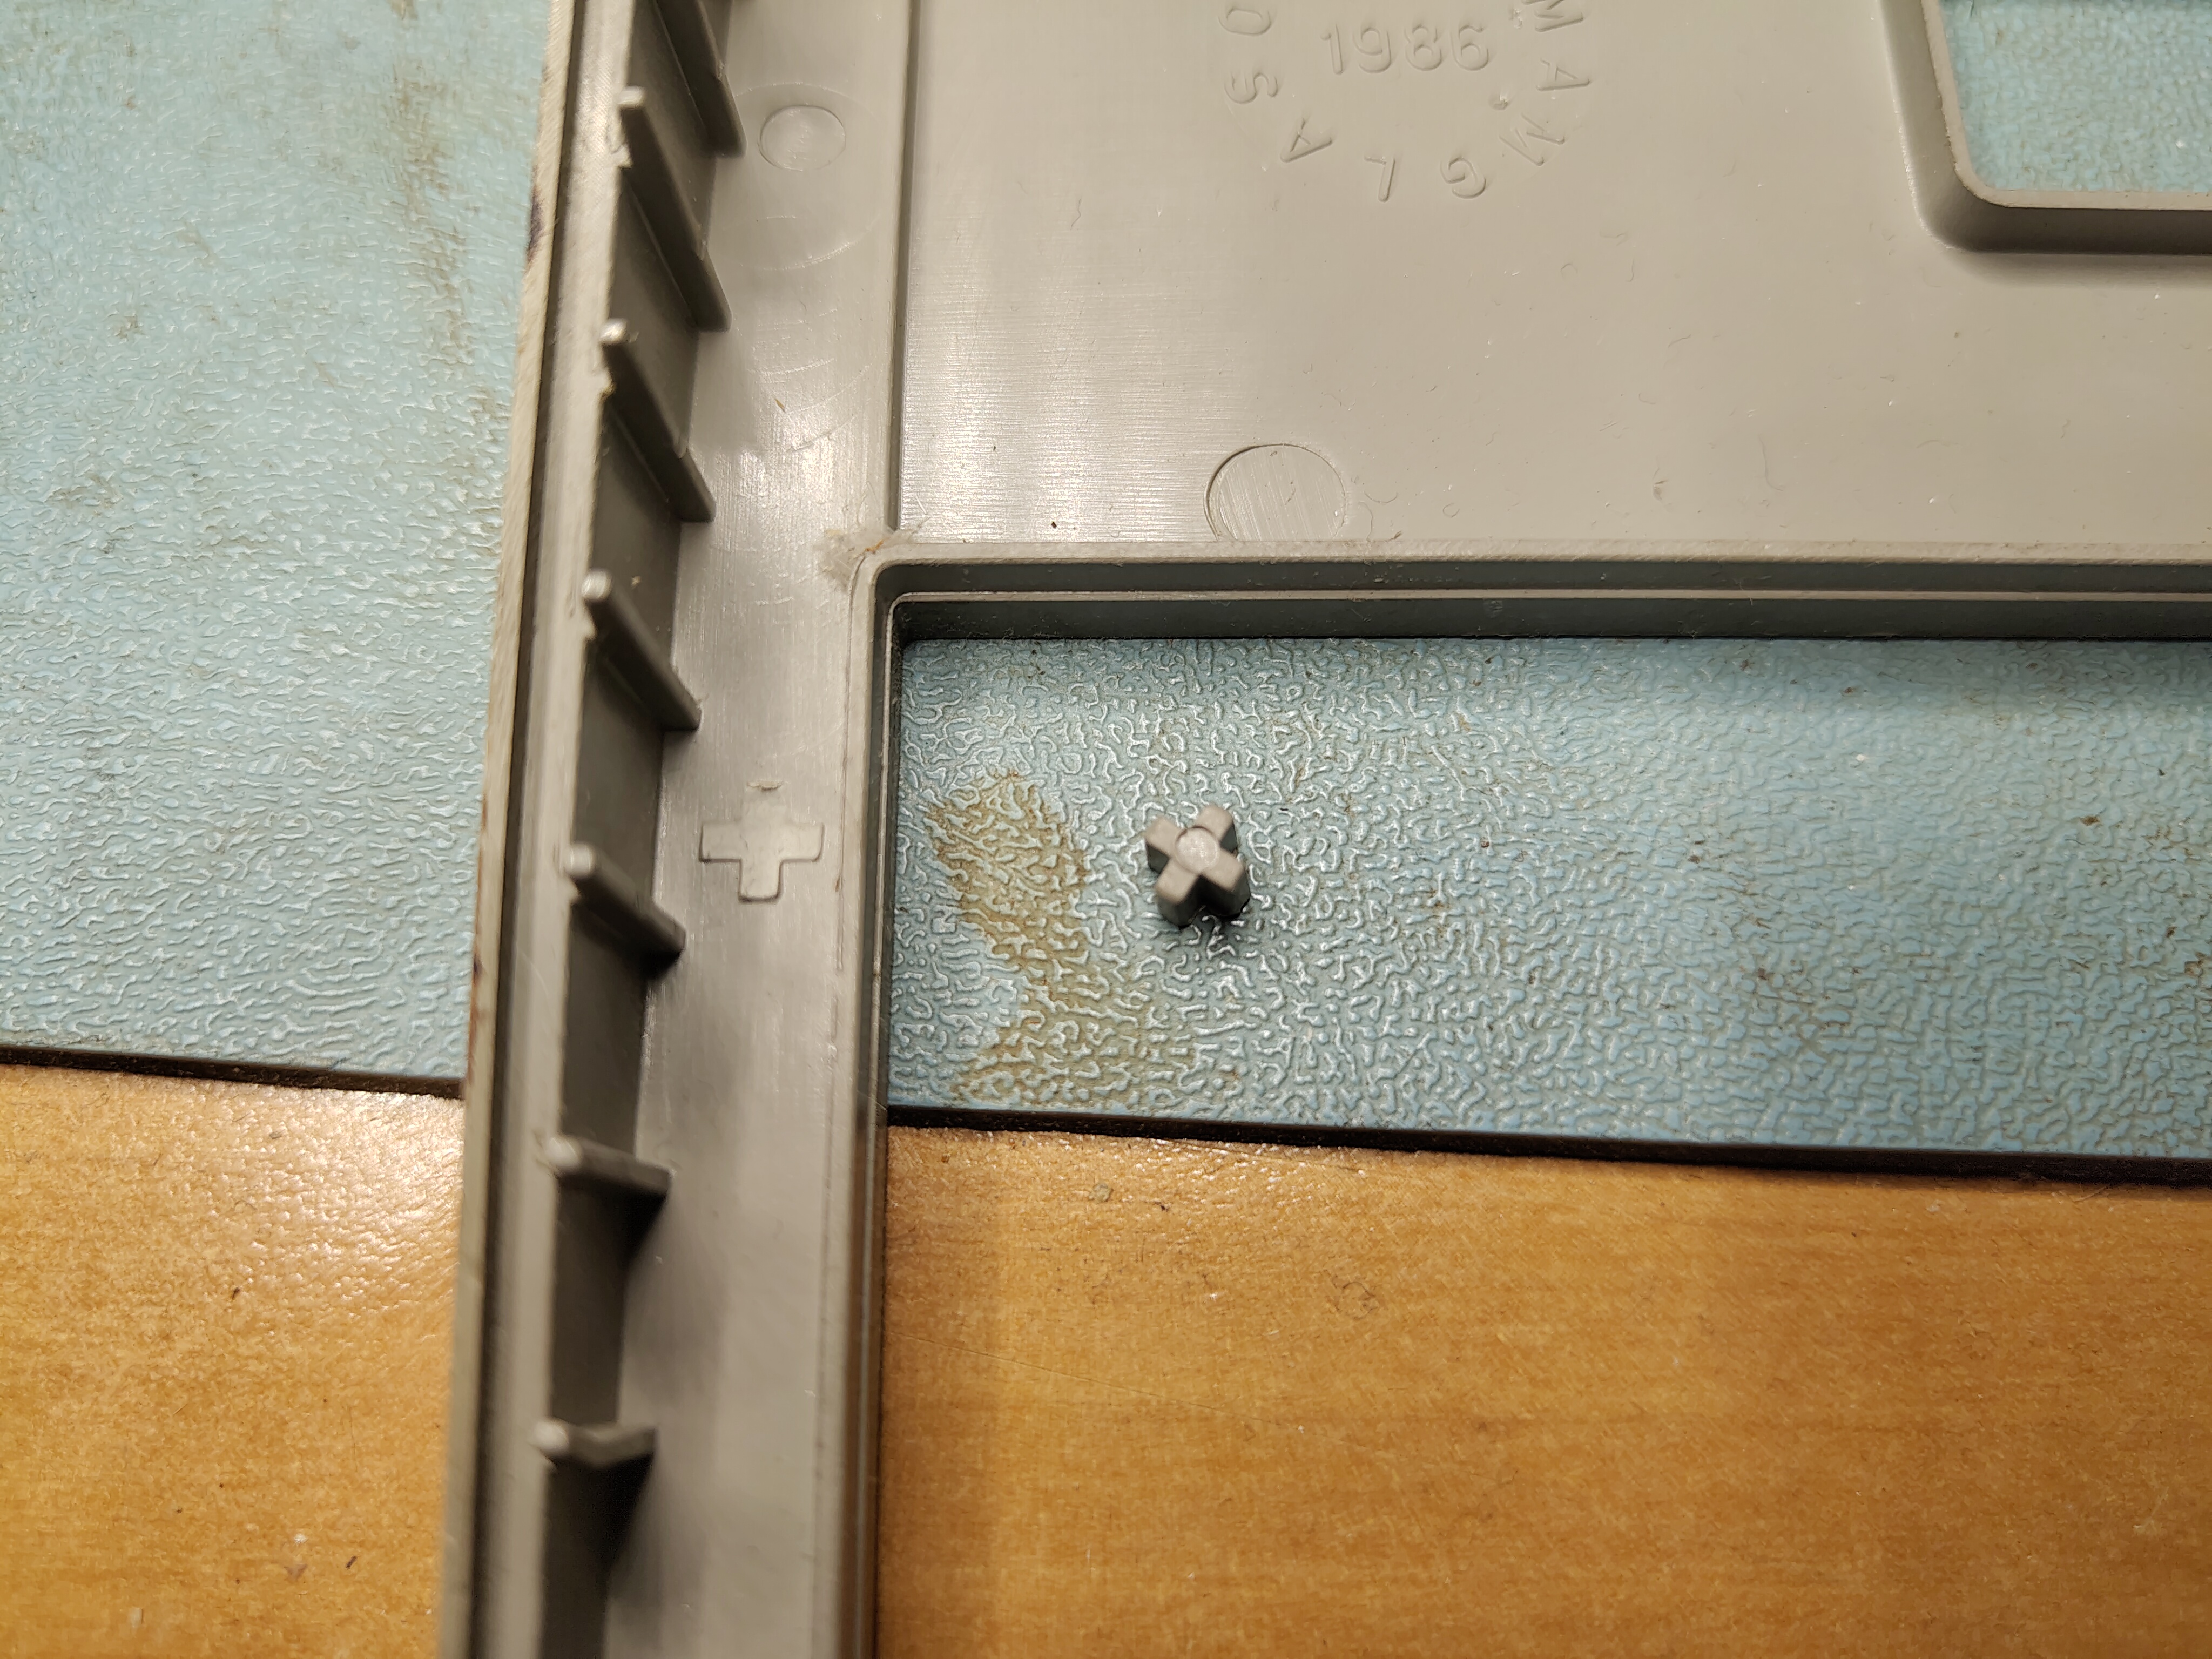
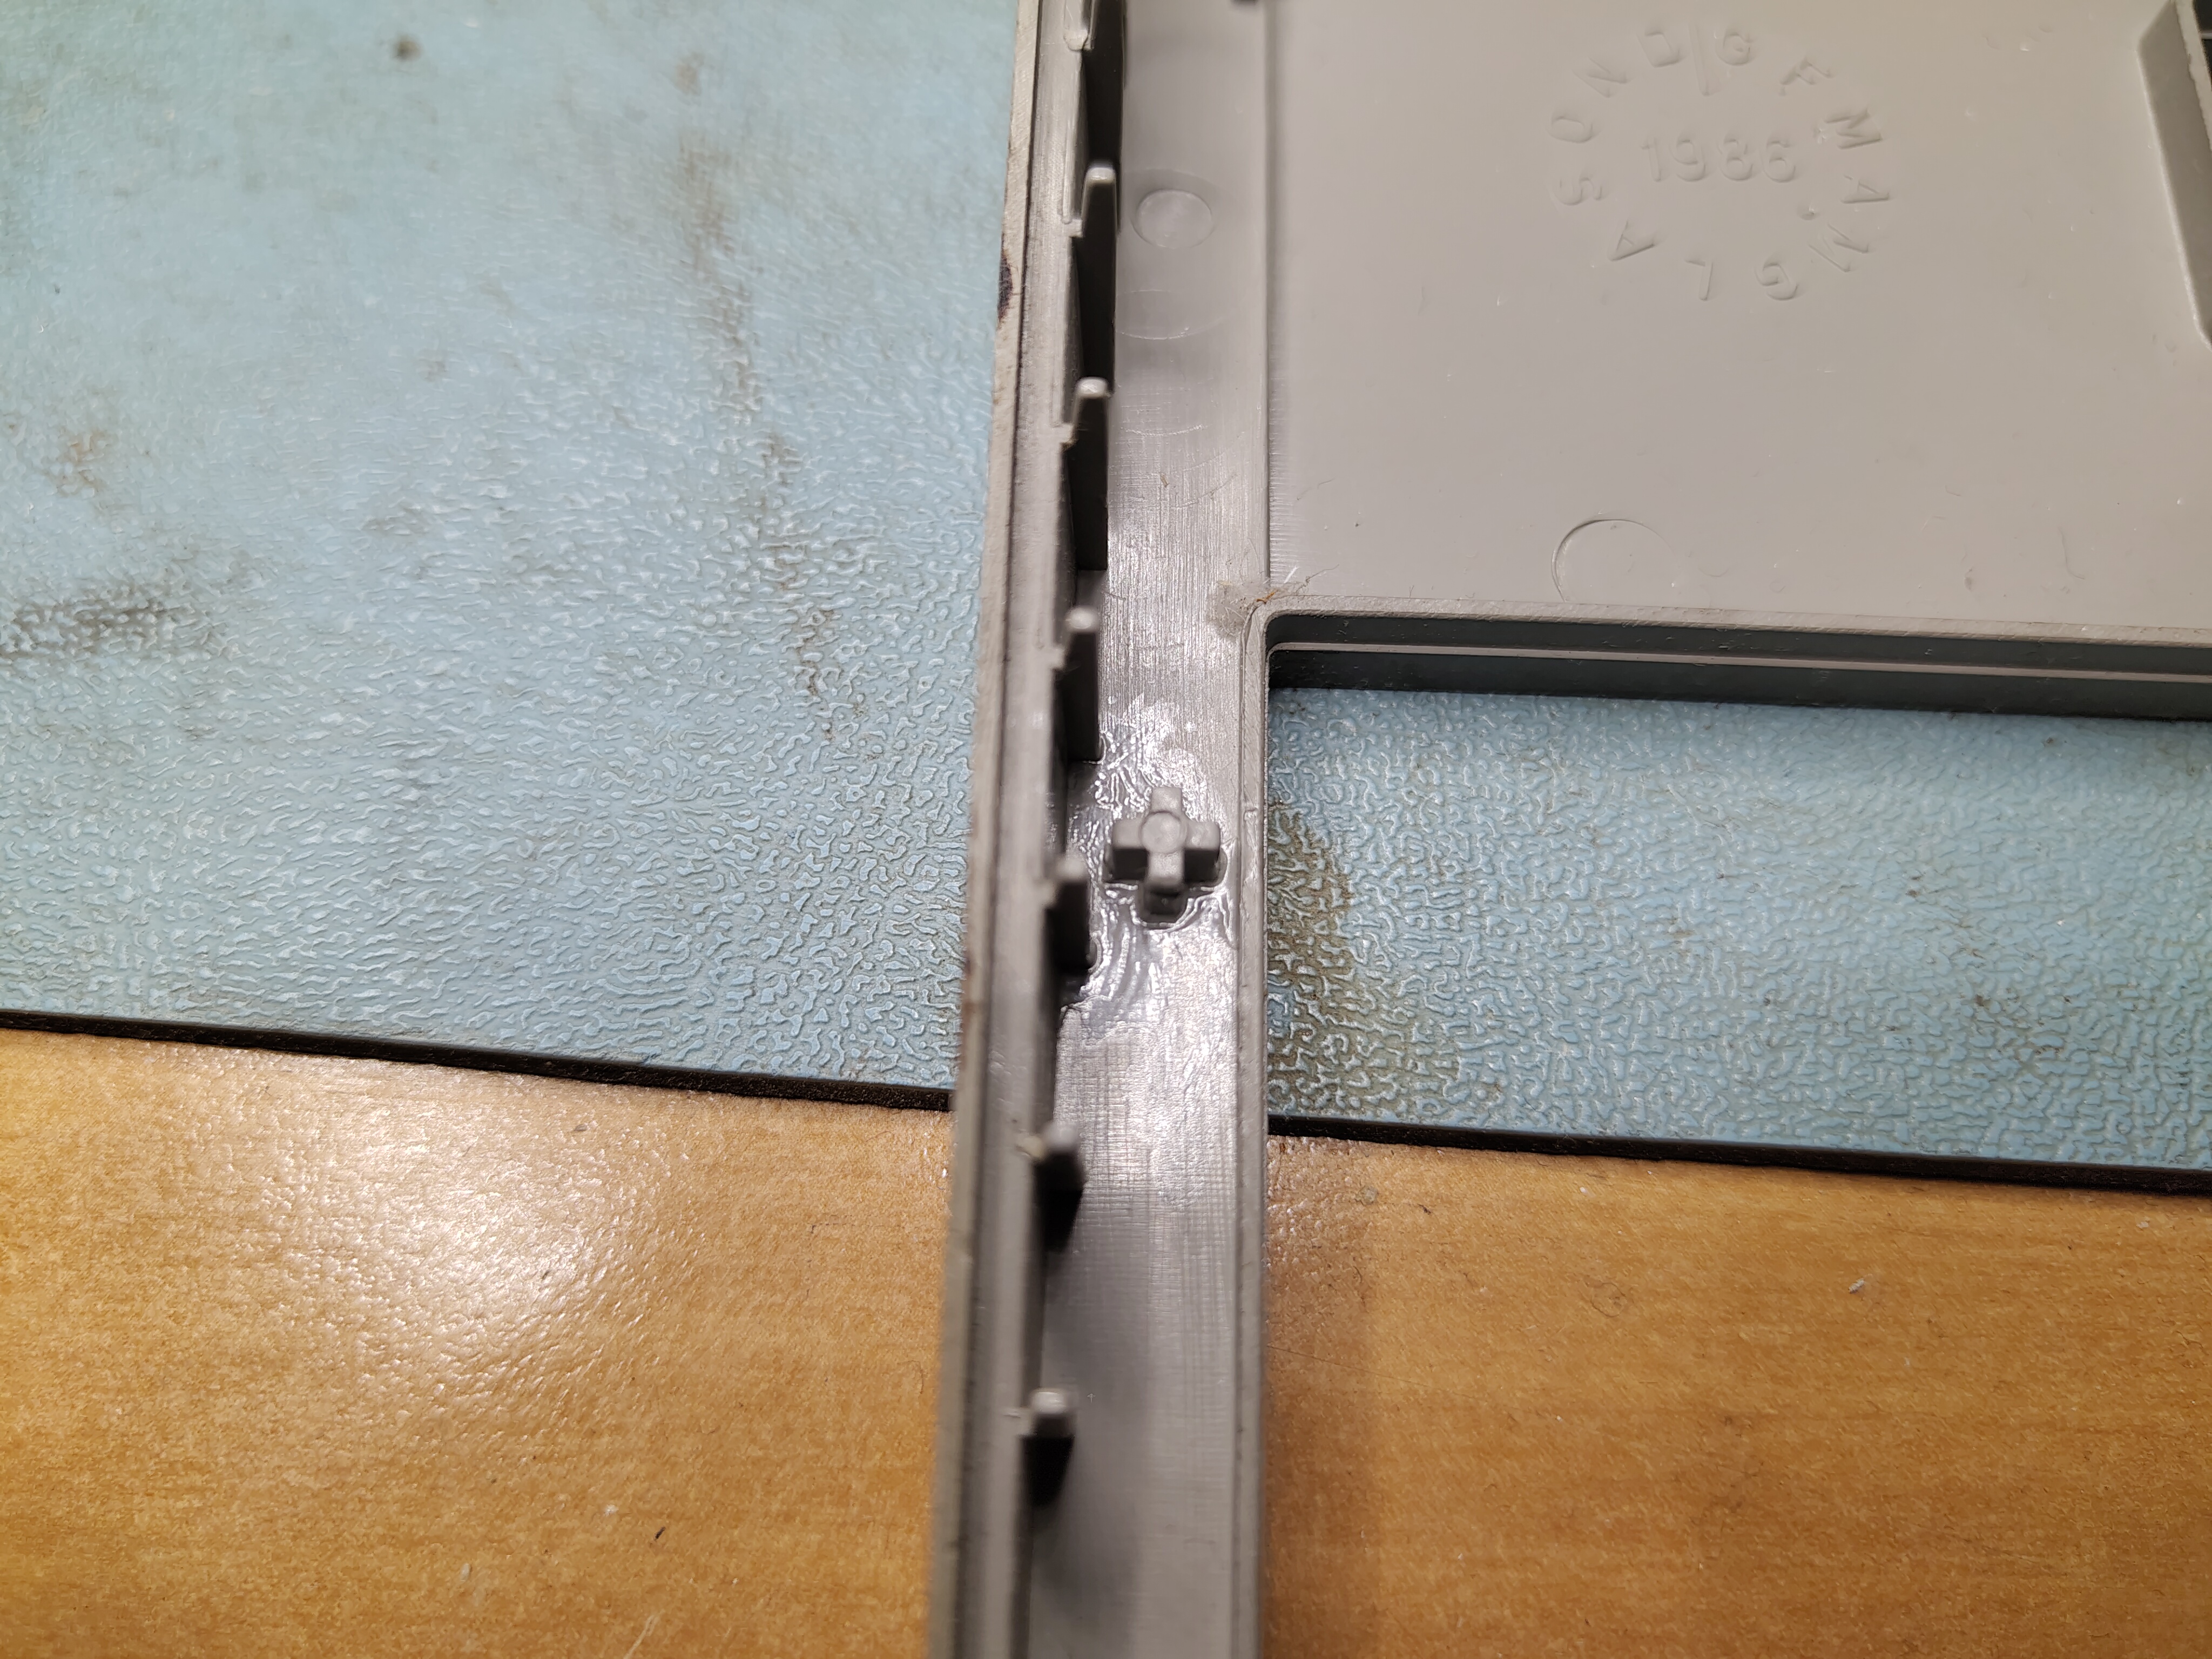
I also found that a small lug had broken off elsewhere and I used Pro Weld to glue that back on too.
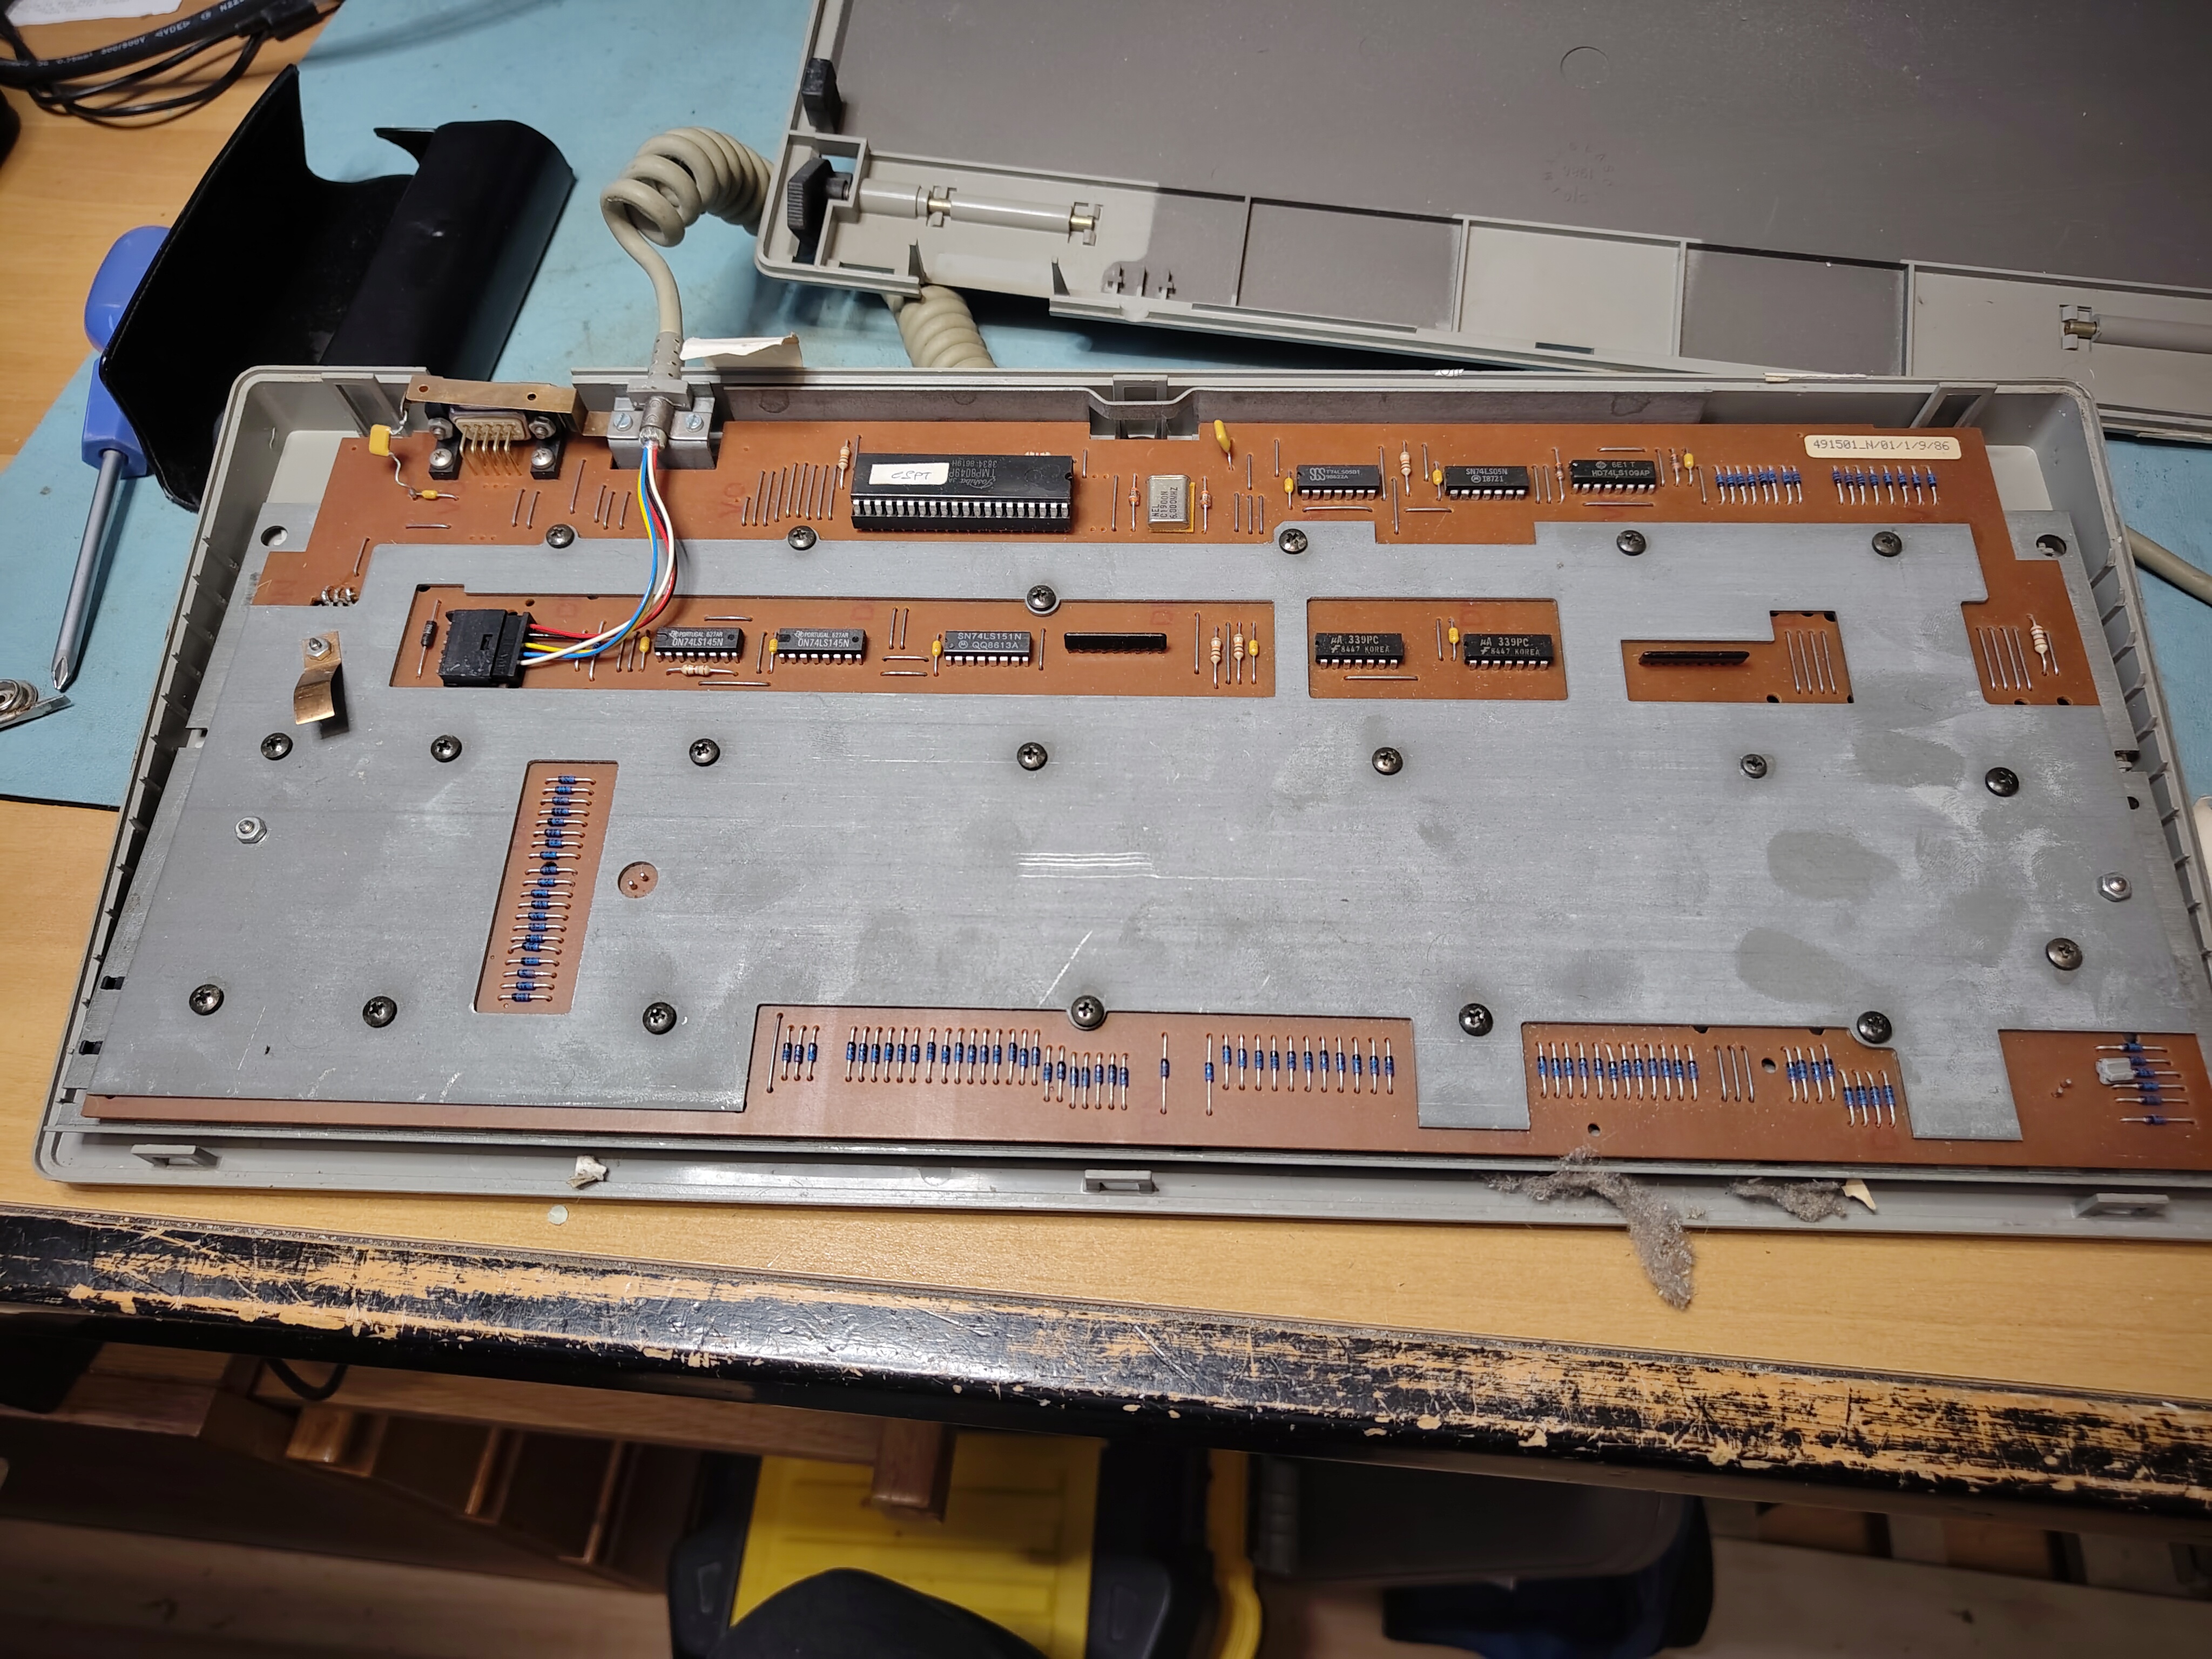
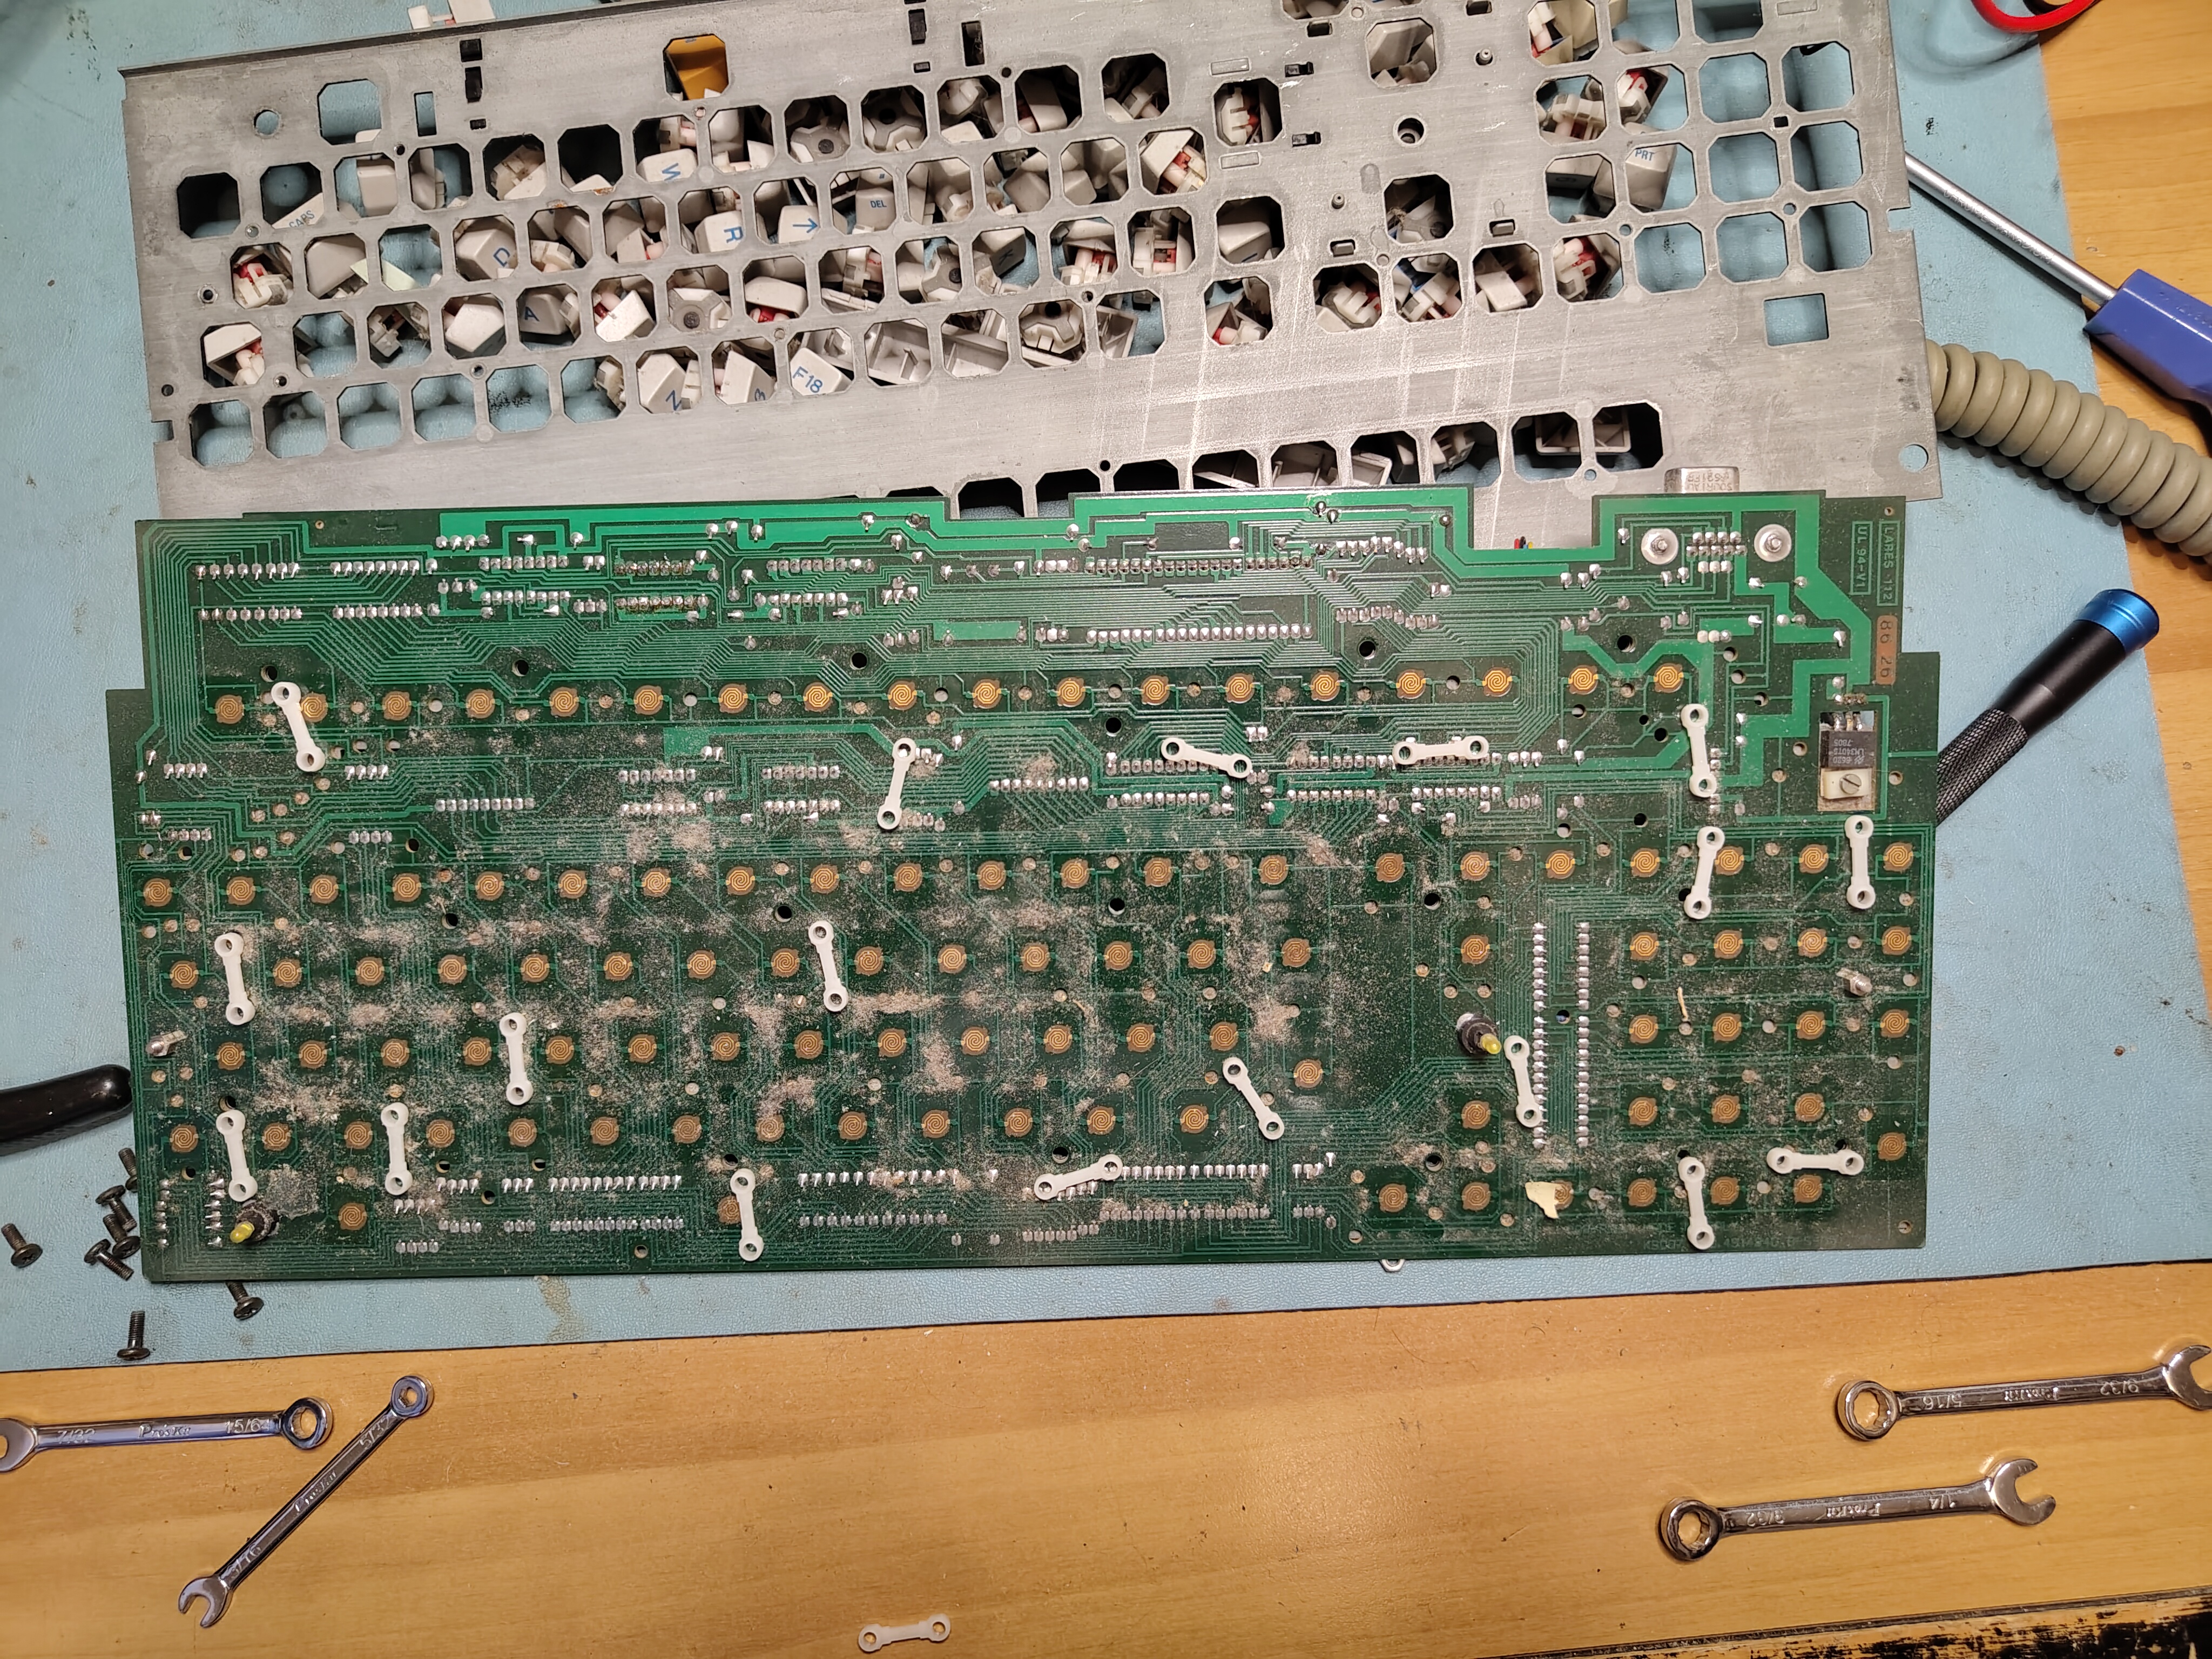
With the enclosure removed the underside looks like this. There are 20(!) screws holding the front plate in place, and there are plastic spacers between the front plate and the PCB so that the front plate can be used to clip the keys into place.

Once the keyboard was out I removed all the keys. This was easy as they are retained with some simple clips that can be gently levered with a small screwdriver. The clip had broken on one of the keys, which made it a little harder to get this one out. With all the keys removed it was evident that the keyboard was quite dirty.
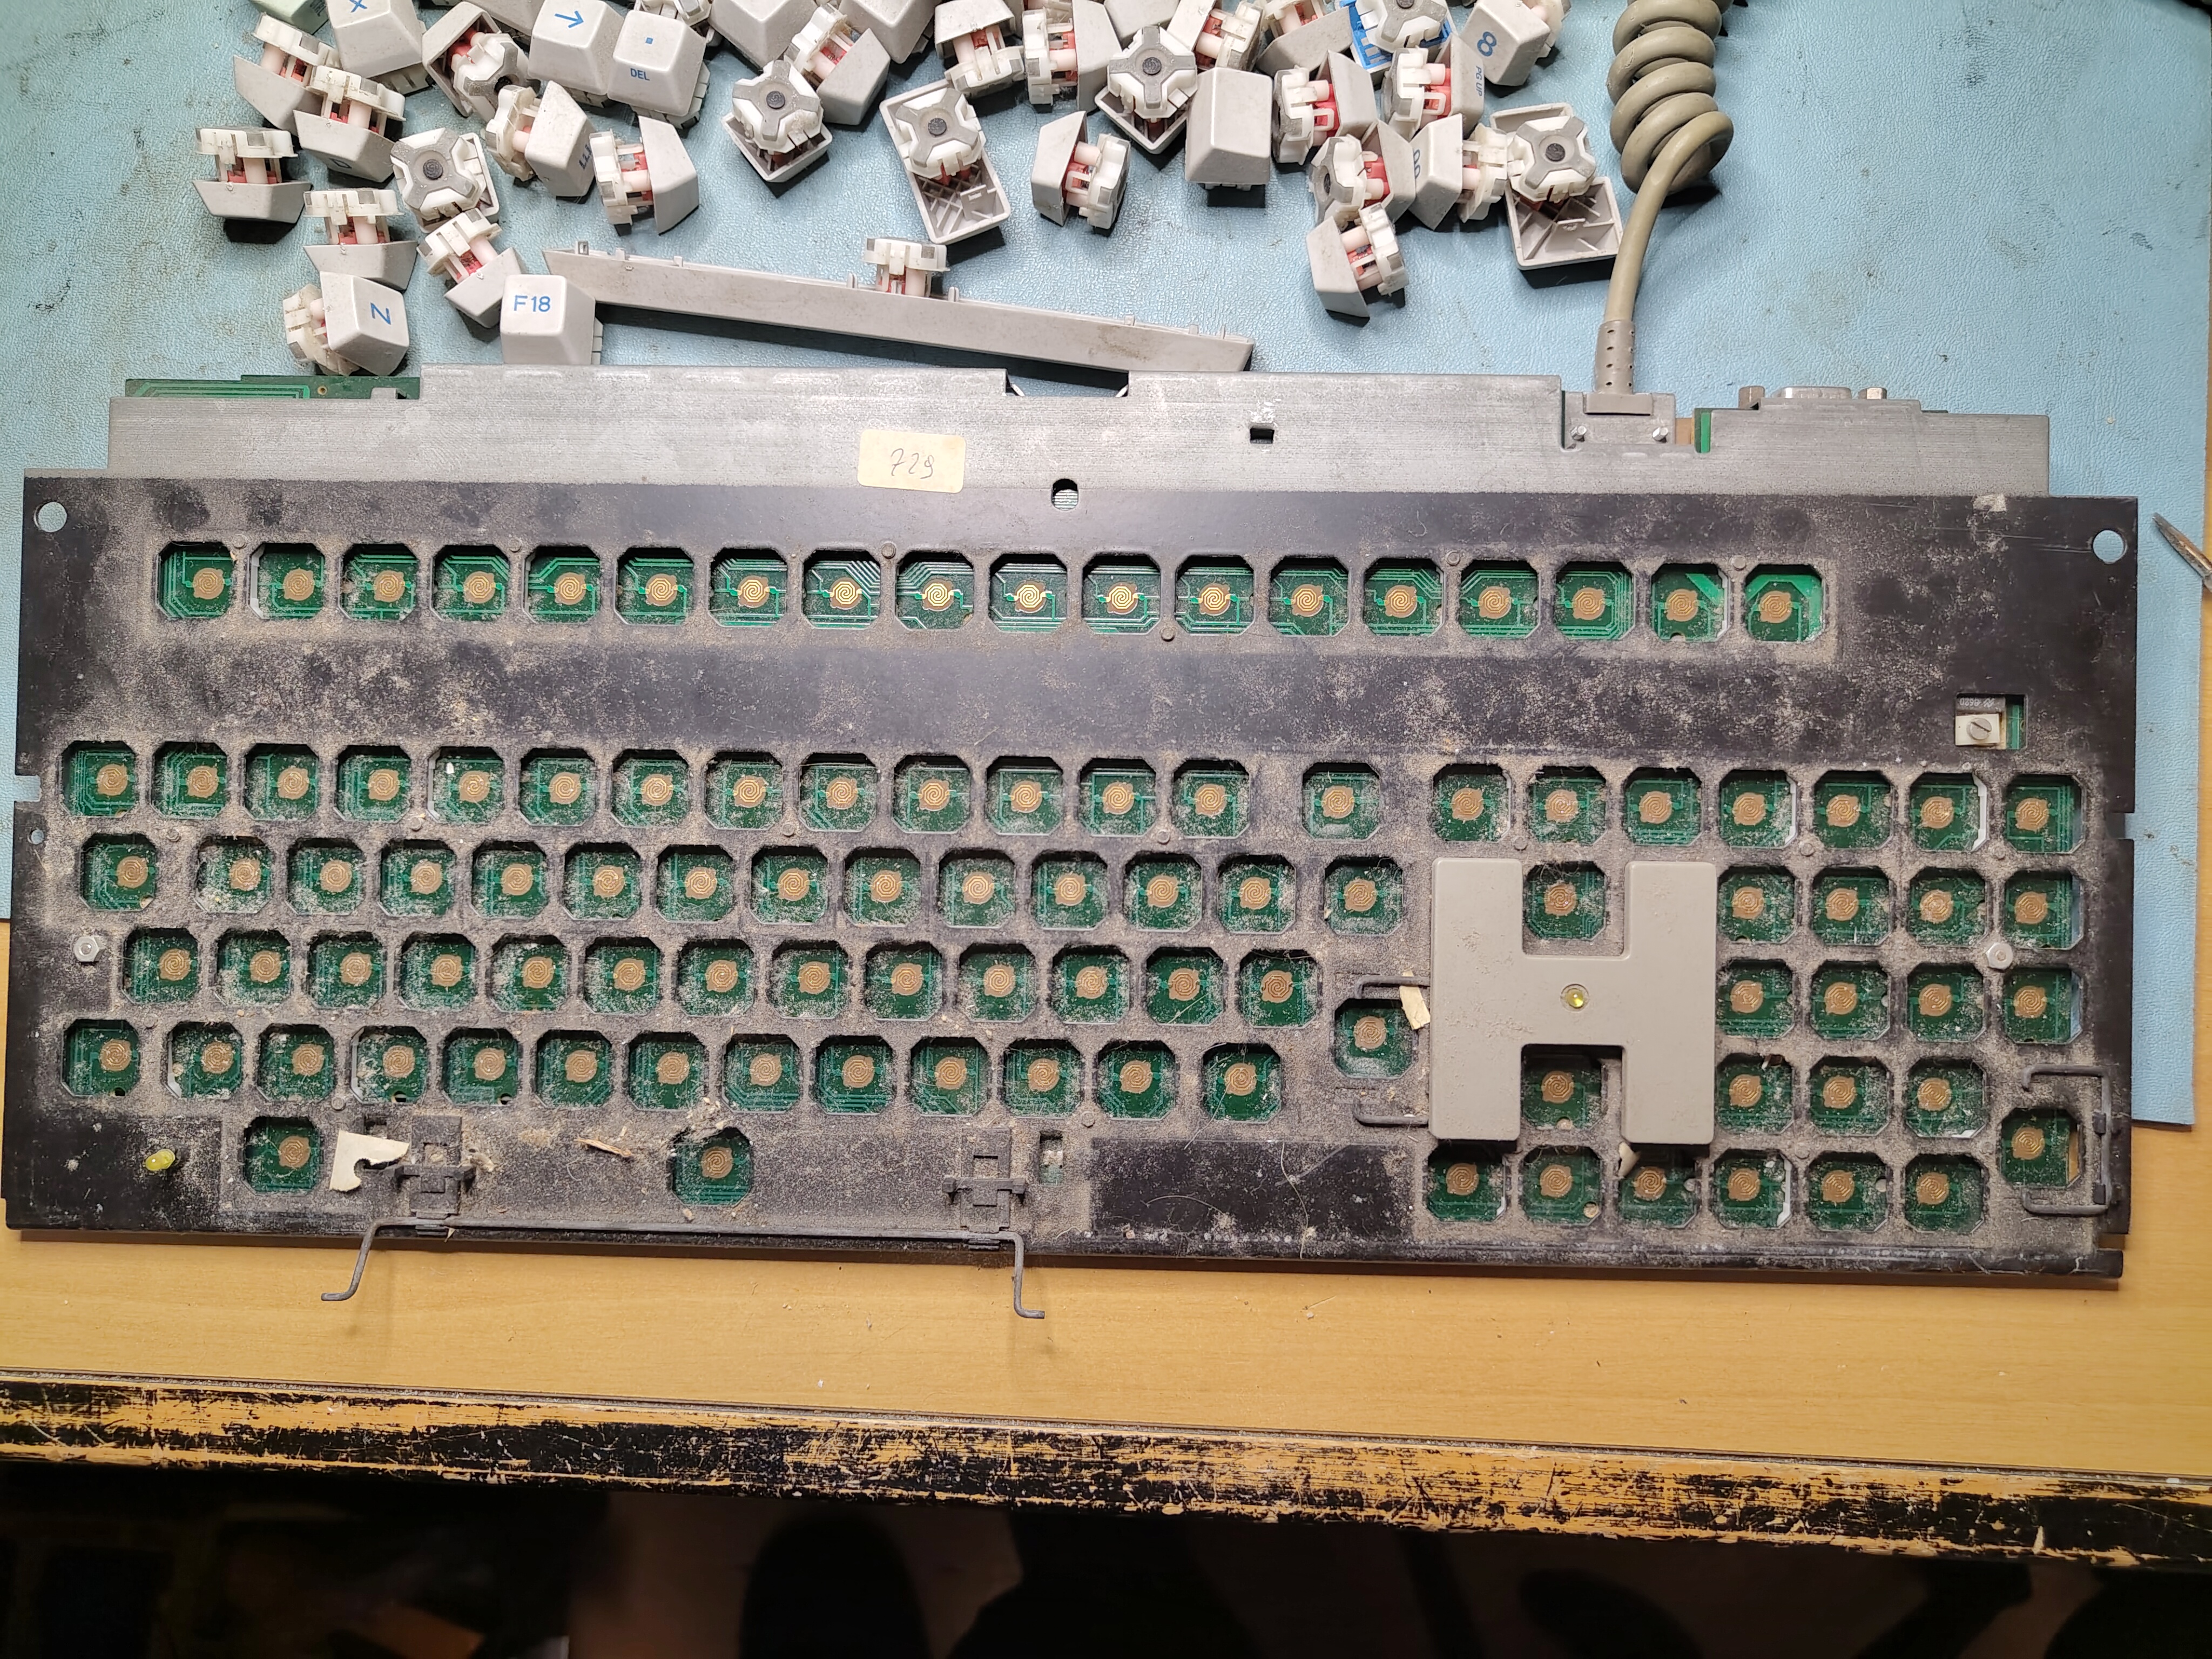
After unscrewing the 20 screws and two nuts, removing the front plate showed the spacers, which had moved.
I found that there were marks on the back of the front plate that made it easy in most cases to find where the spacers went.
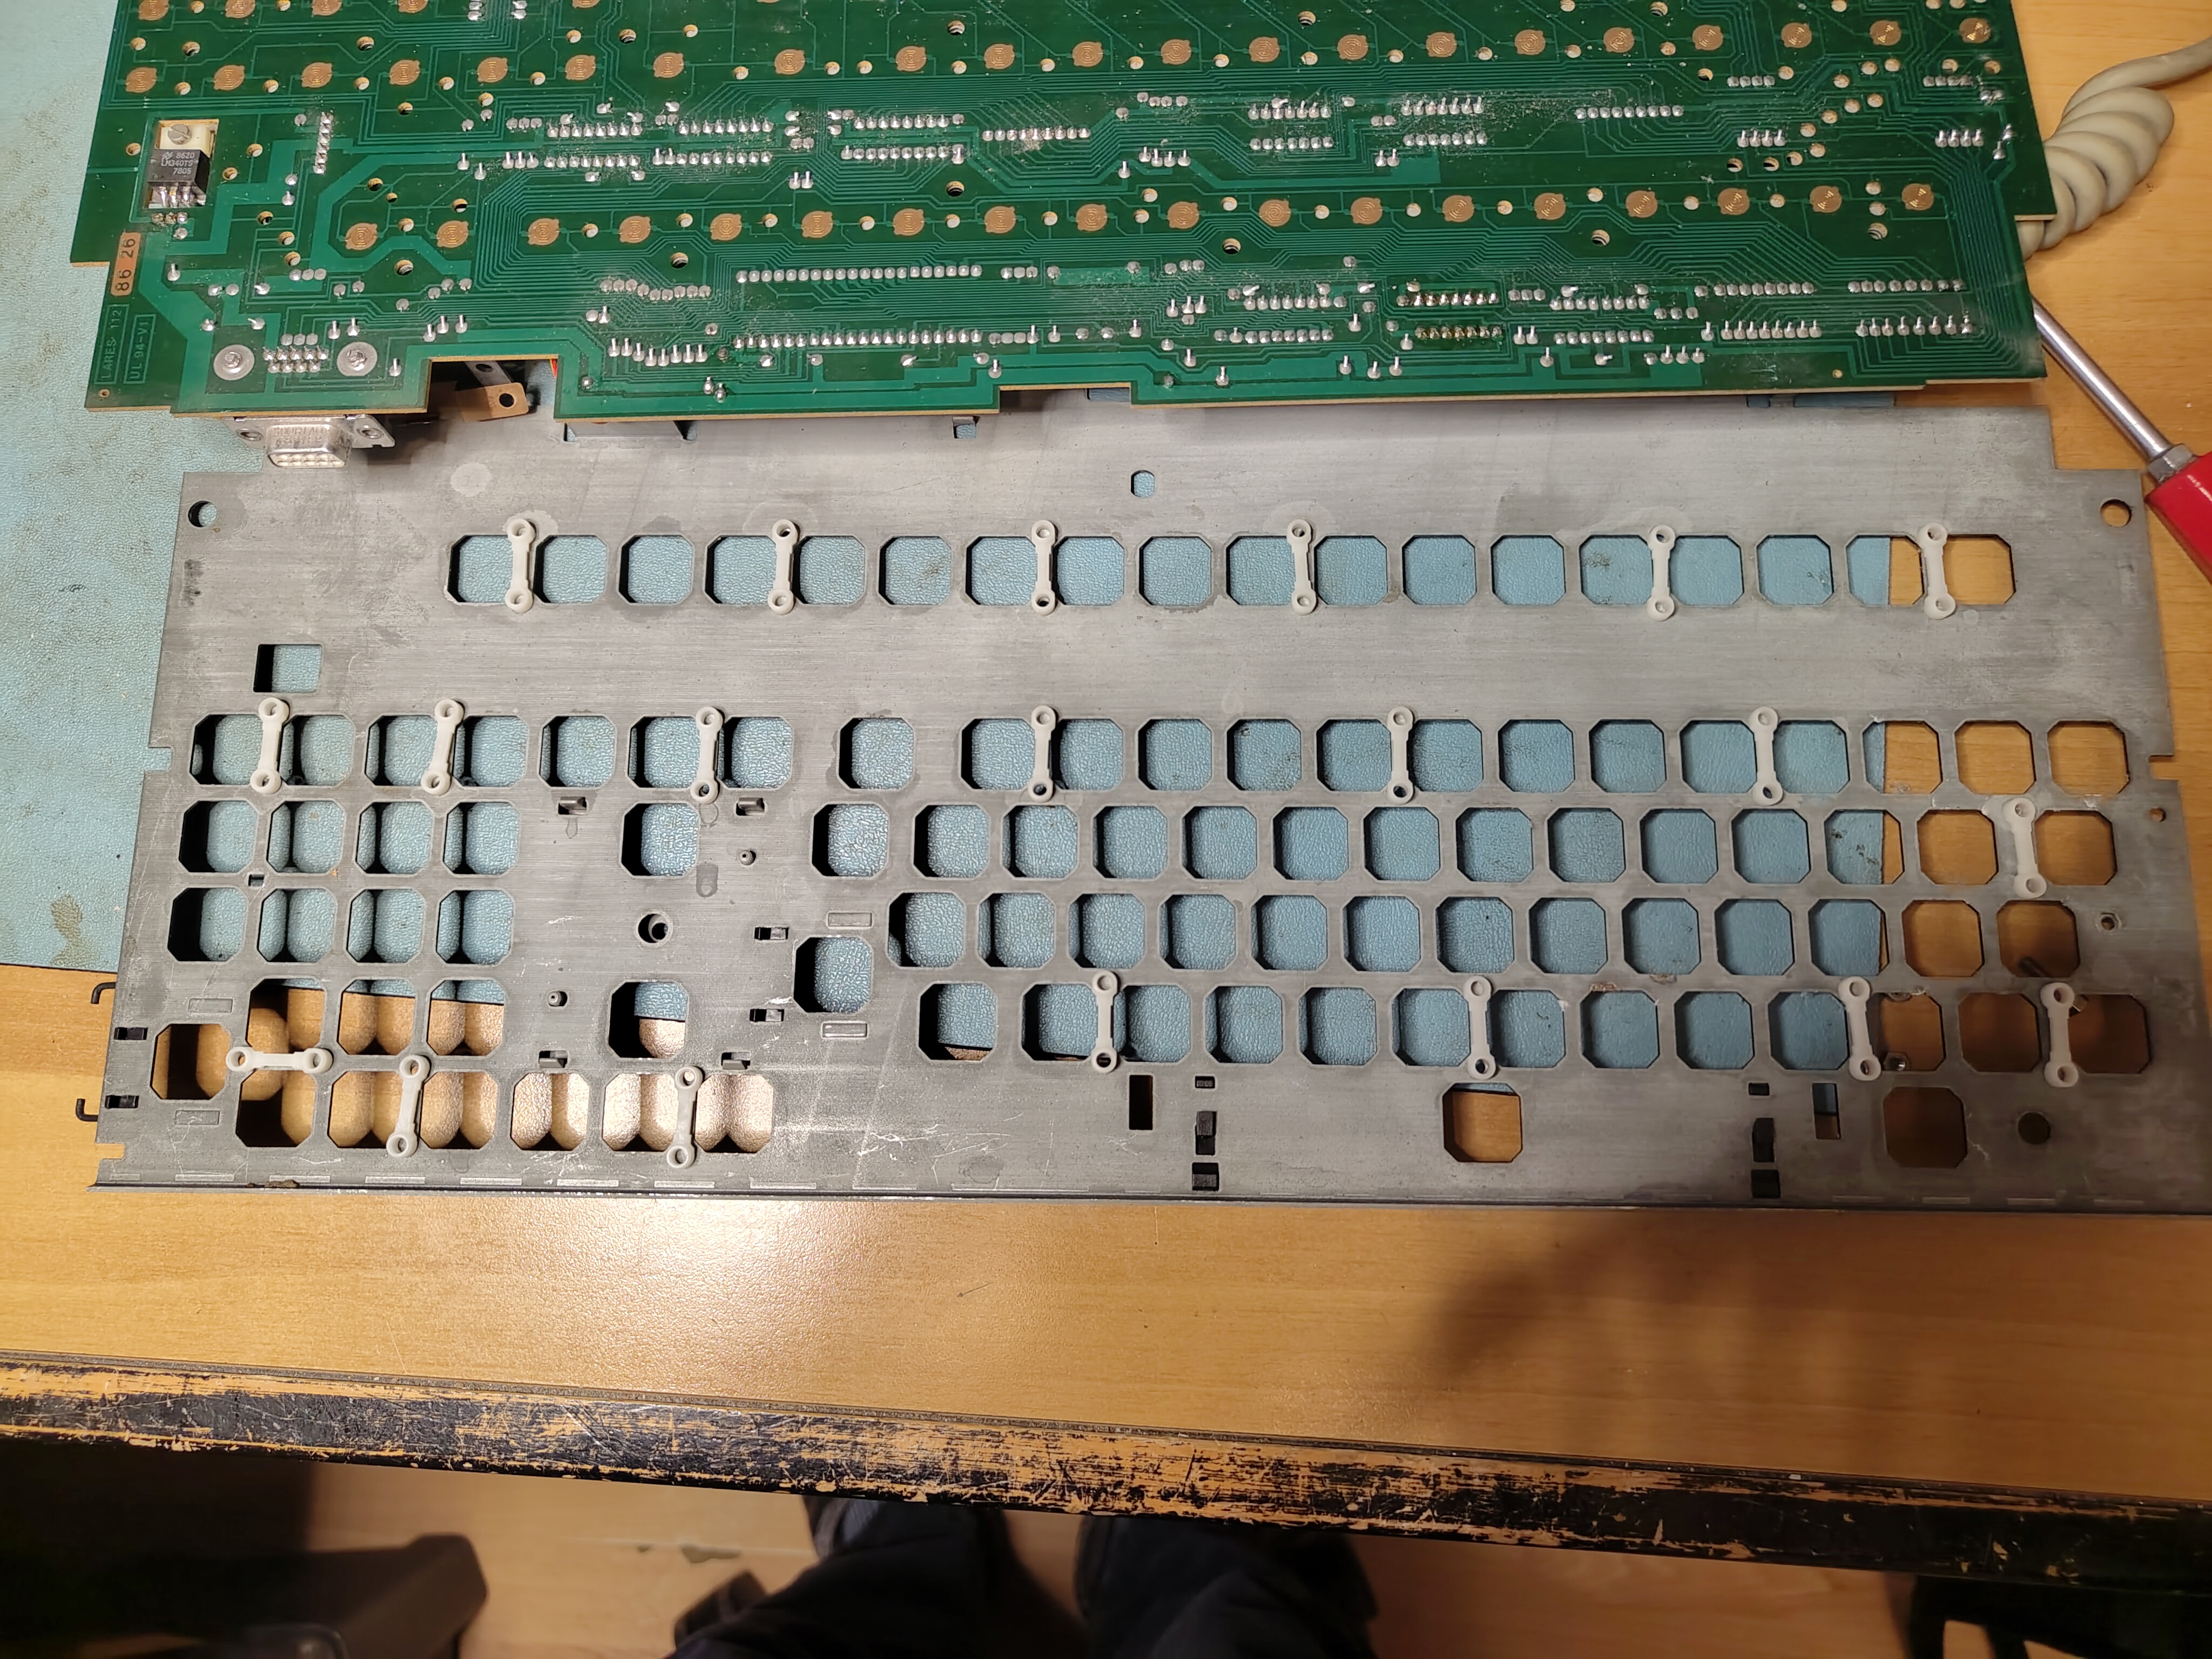
I then set to work with isopropyl to clean the PCB and the front plate. I didn’t clean the entire front plate as I didn’t want to remove the clips for holding the larger keys in case I broke something.
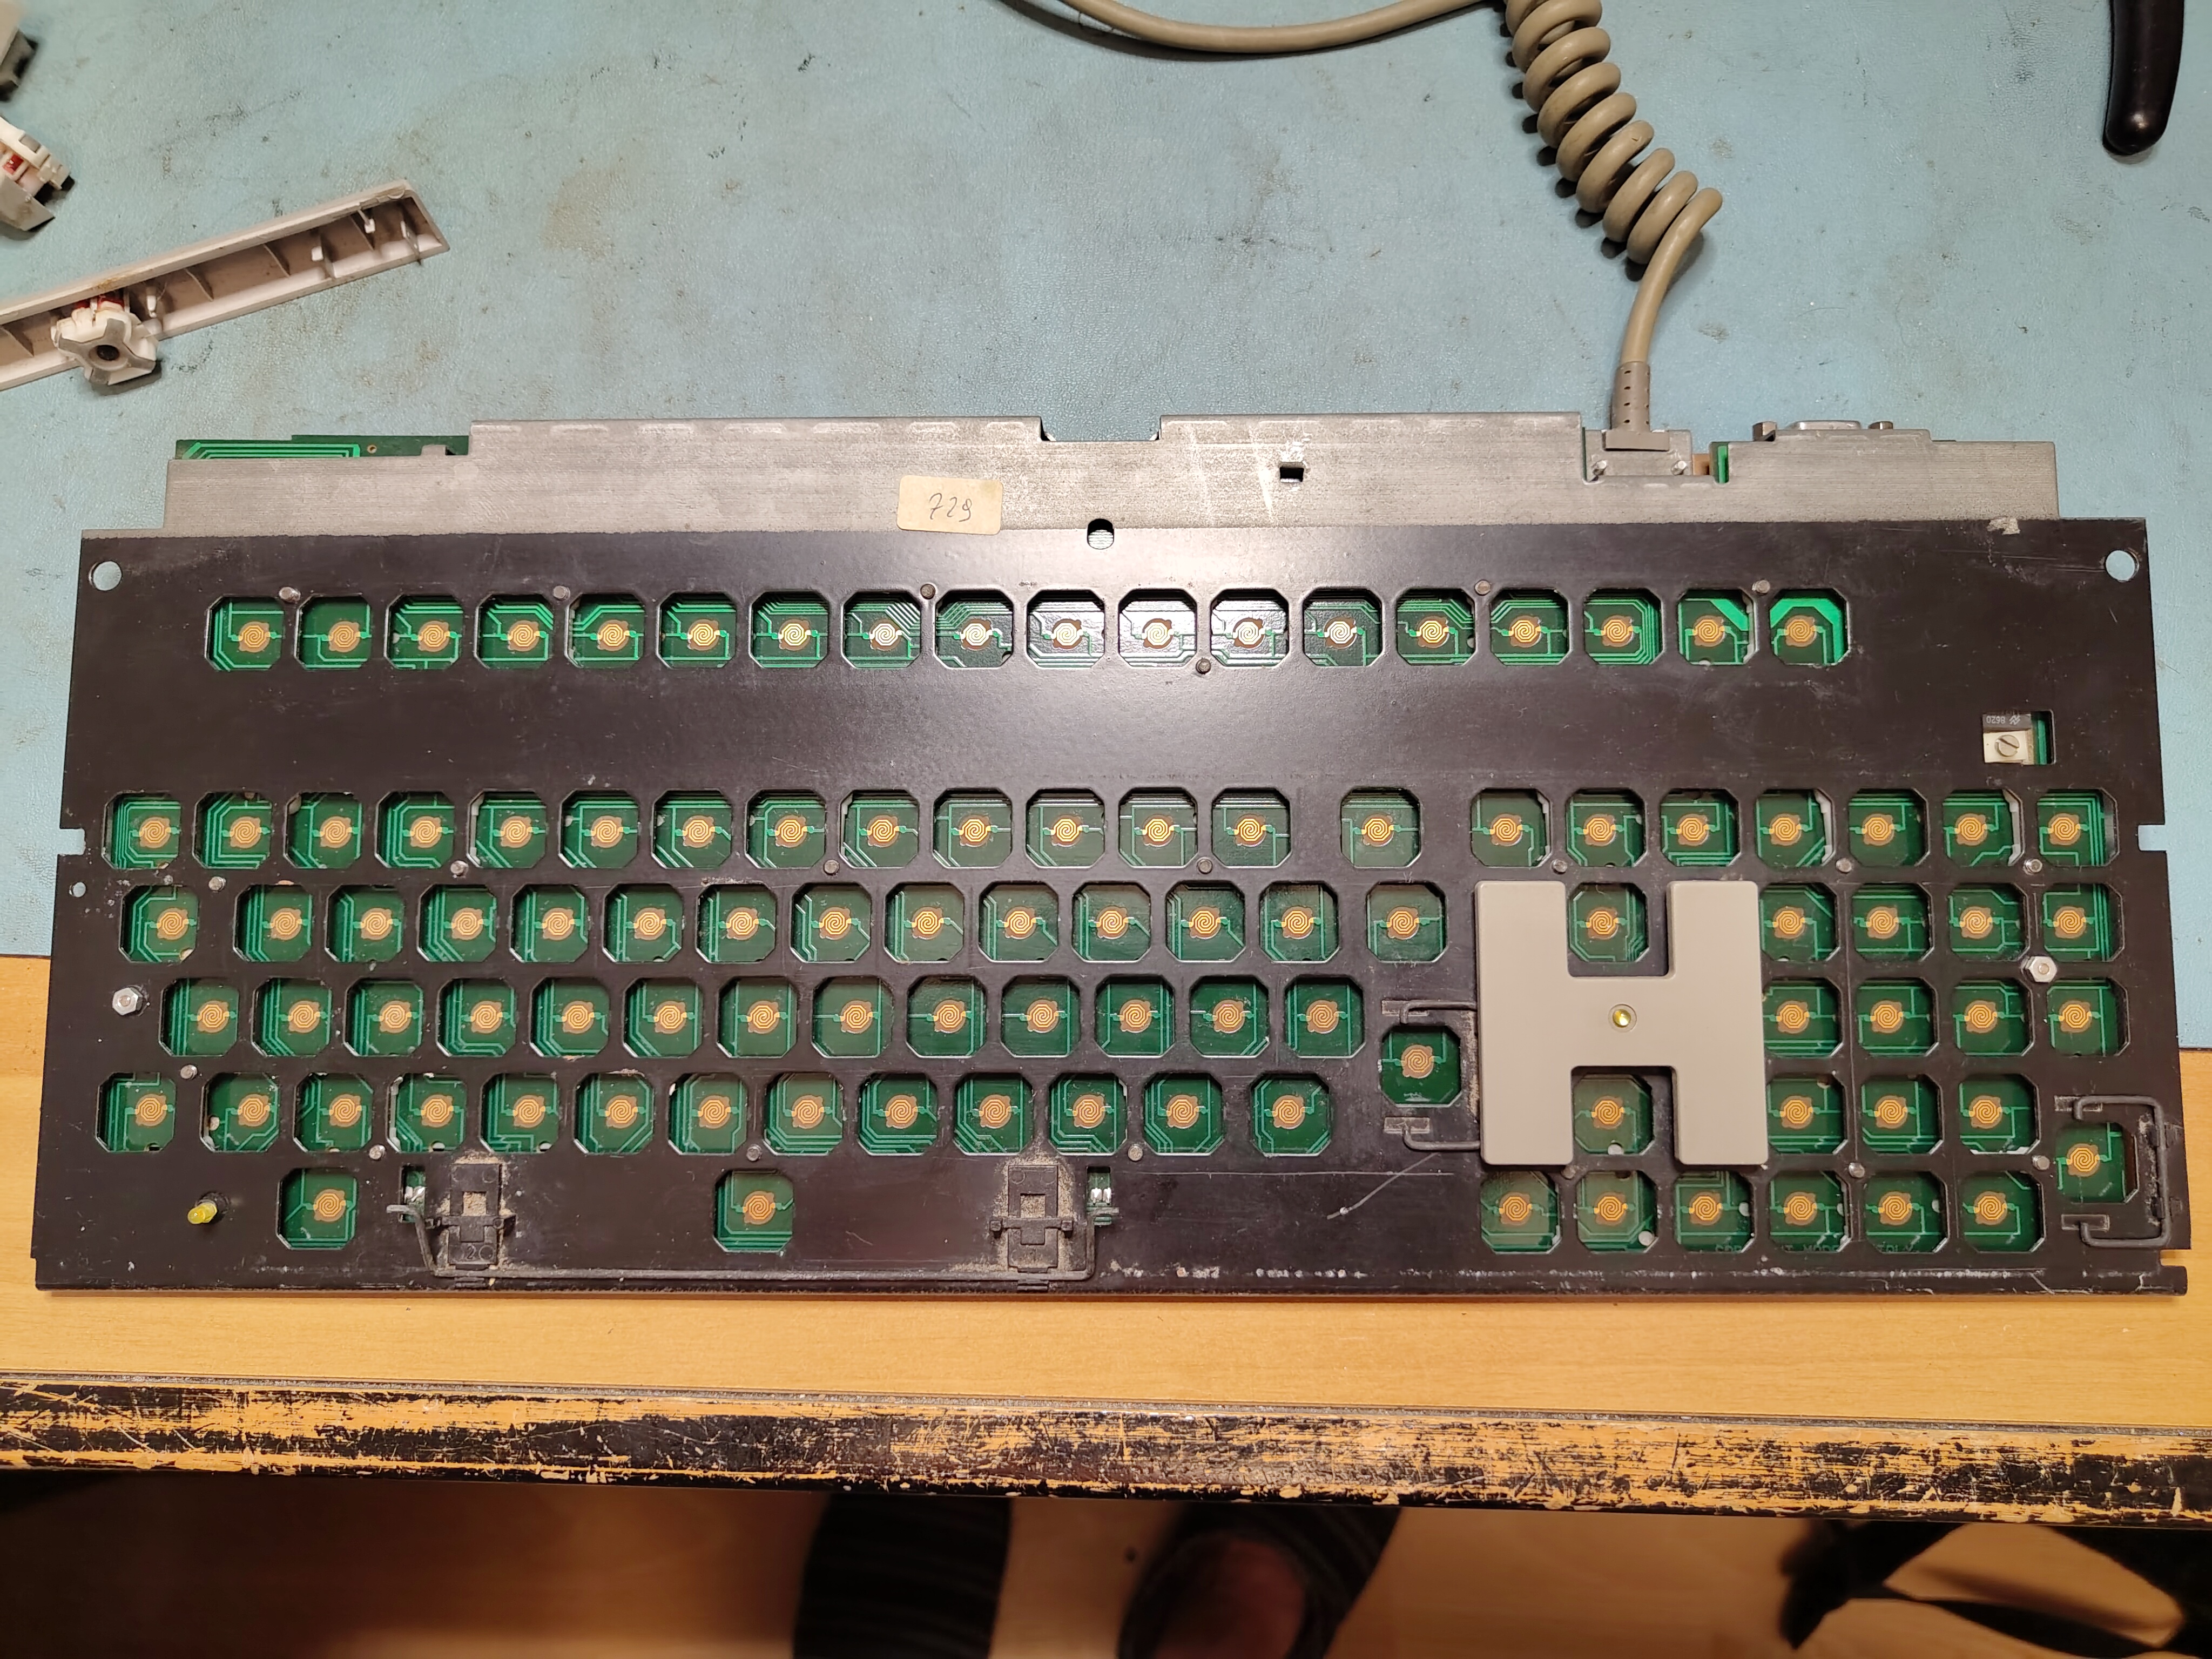
Next I cleaned all the keycaps and cleaned the contacts with isopropyl. I put back the keycaps and tested the keyboard before remounting it in the enclosure.
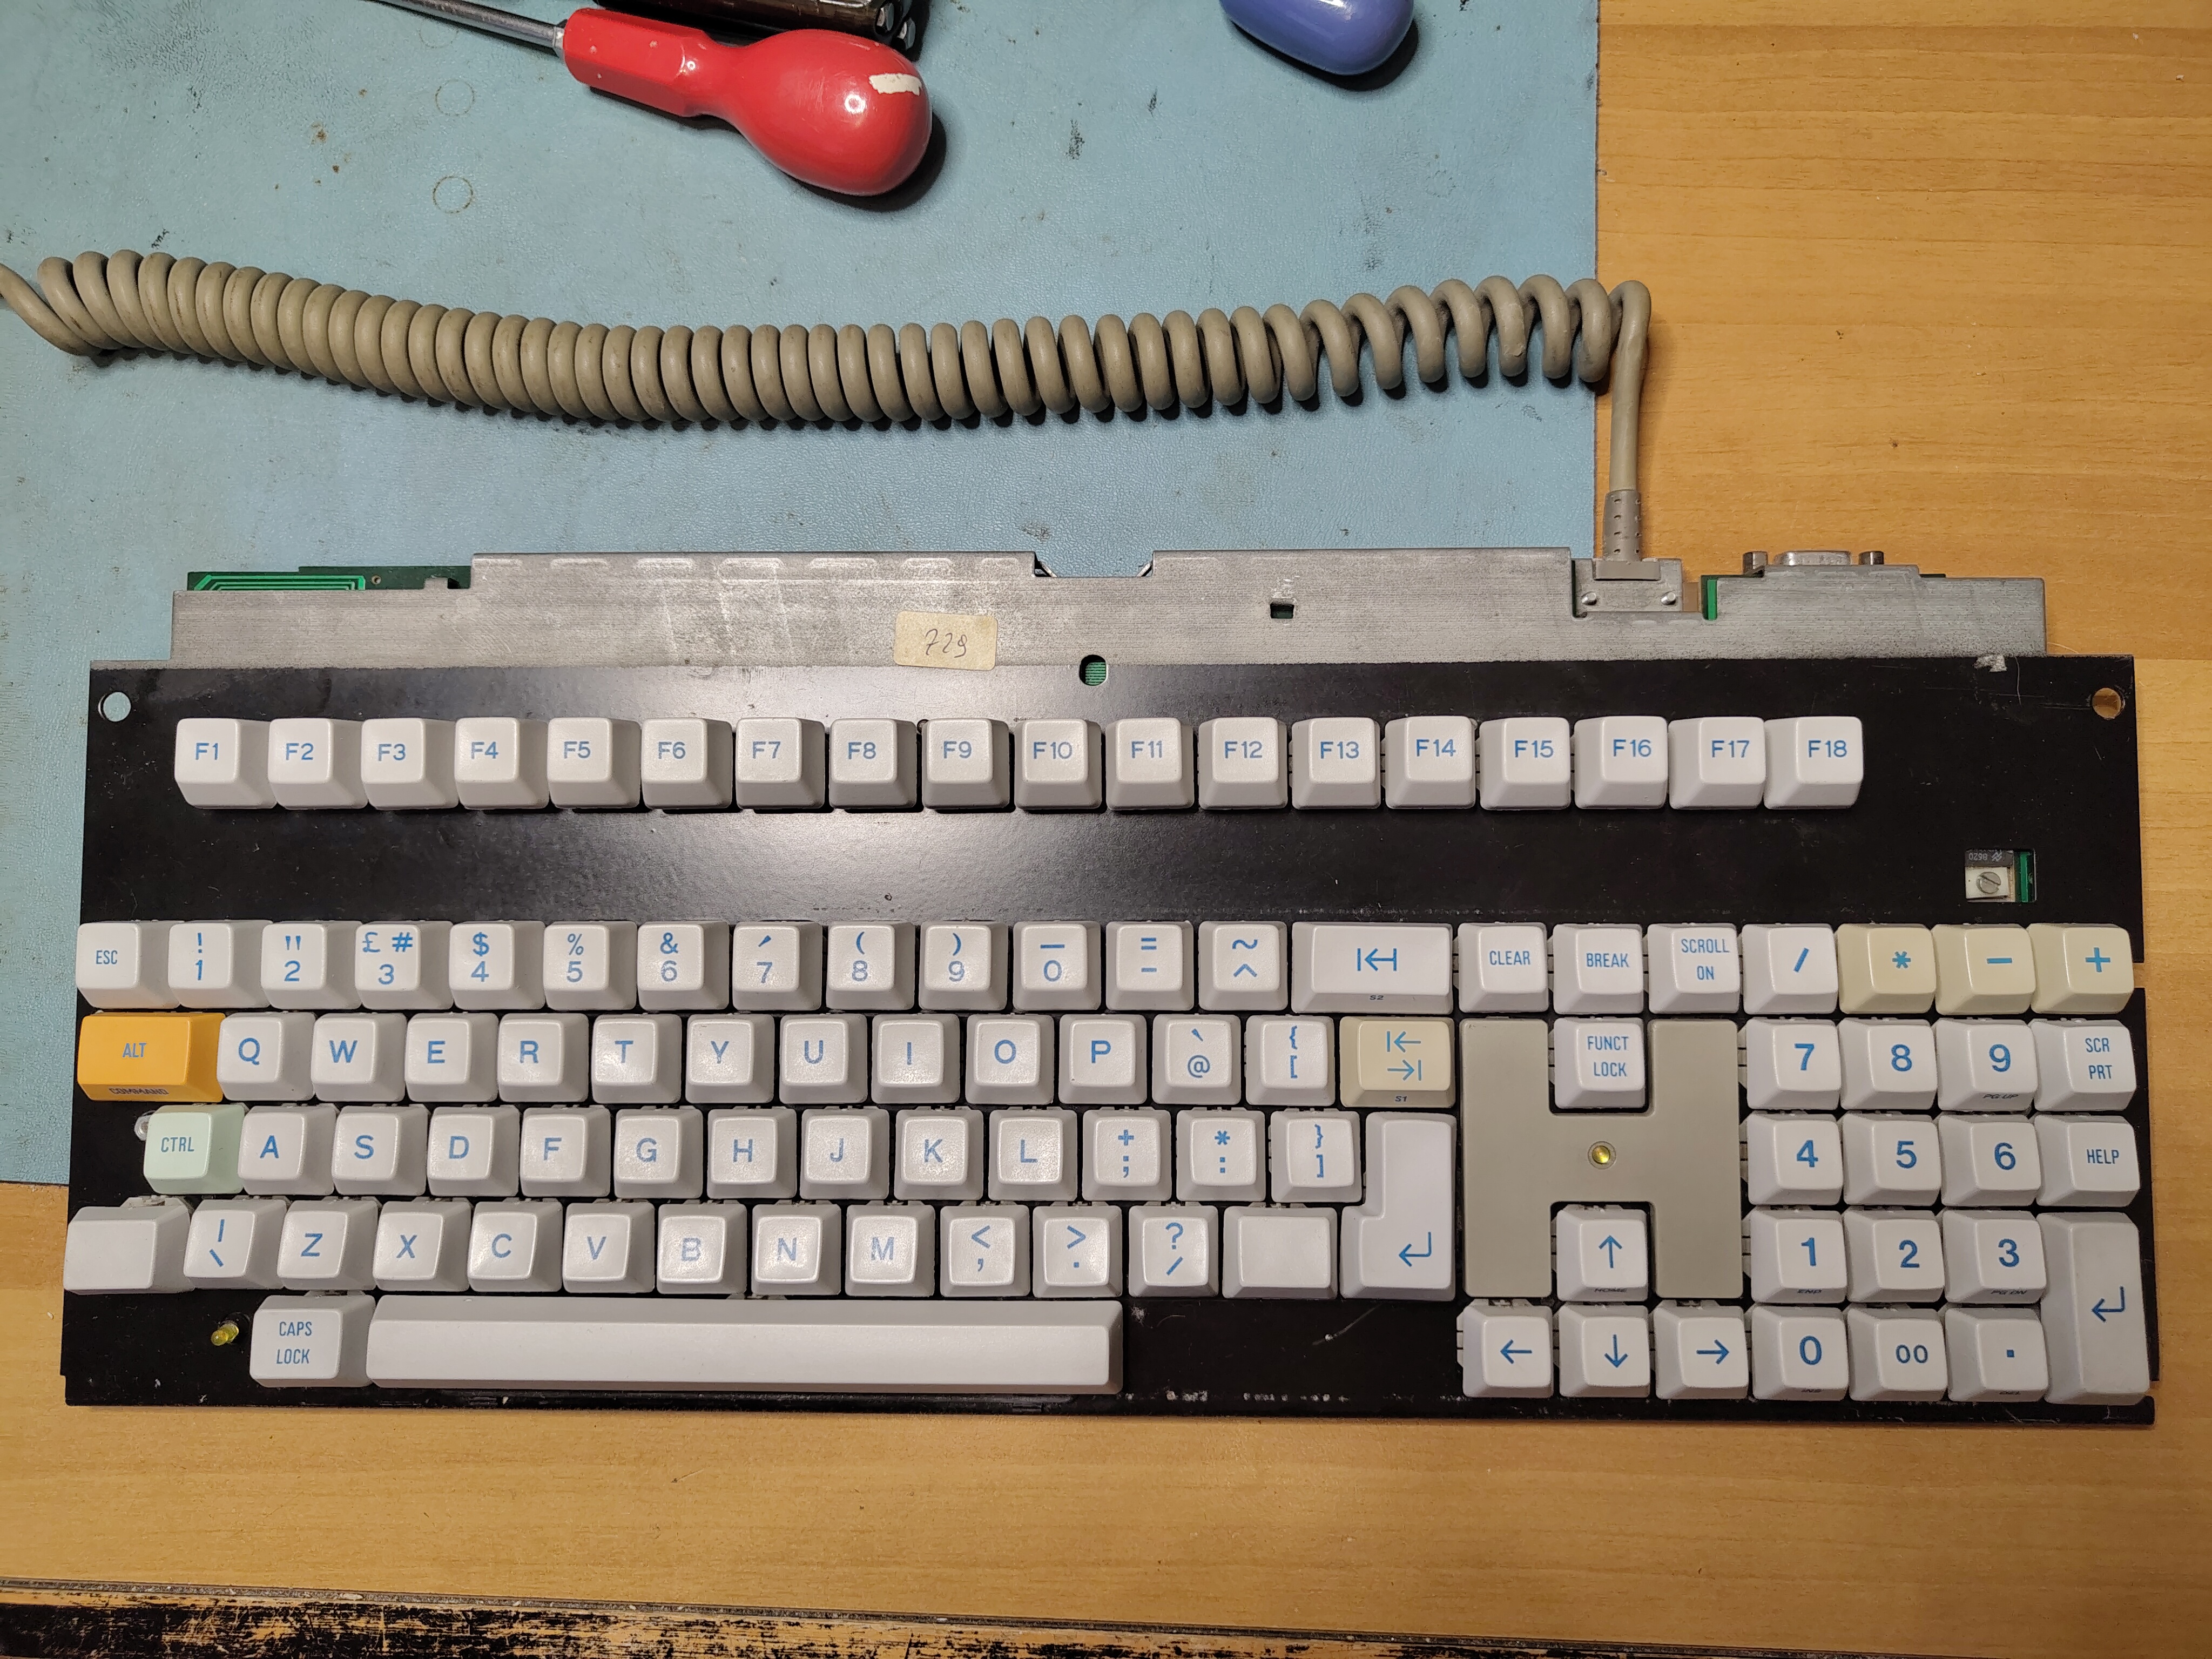
The M24 comes with a Customer Test diskette which includes a keyboard test. I found a couple of keys were still not quite right, and I re-cleaned the contacts on the PCB and the keys themselves, and they started to work reliably.
Once all the keys were working property I cleaned the keyboard cover and reinstalled it. I removed the glue residue from the tape that had held the enclosure together where the retaining lugs had broken and then used some duck tape, more discreetly applied, to hold together the enclosure where the retaining lugs are missing.
The keyboard now works perfectly.
